Your search results

Case Study: My Regent Park Renovation

Posted by Raymond on February 3, 2020
| 0

Design, Demo & Rebuild

My notes and recollections of my first value-add investment.  Purchased in 2017 in Regent Park, it was my first opportunity to get intimately involved in a top to bottom renovation.  I do my best here to share my journey to polish this diamond in the rough.  

Originally built in 1939, it was a very well kept time capsule. It had excellent ceiling height on the main floor, approaching 9’. Same could be said for the basement ceiling height. It’s normal to have low basement ceilings in homes of this vintage so was a pleasant surprise to be able to stand upright once down there.   The home had plenty of yard space both in the front and back, a real treat in the downtown core. I love that it’s on a quiet street with little traffic. I also love that the turnover on this street was very low, and the immediate neighbours have been there for decades. It’s a general sign that you’re buying into a good street.


The upgrades this home saw over the nearly 80 years since it was built could be counted on one hand so the warts were easy to spot. If the problems could be overcome, then this was a house worth buying. Below were my notes from those first few visits to the home before deciding to buy it.

raymond-wong-toronto

1) Immediately upon entry, you were hit by the odour that resembled wet socks.  The home had been vacant for so long the air was stale.  If this home is to be rebuilt, this problem should address itself.

raymond-wong-toronto

2) There was almost no natural lighting coming in for several reasons: old windows that did not go brick-to-brick, too many walls that blocked the flow of any light that made it in, and a huge tree in the backyard that faces west. This tree is protected by the city, no permits would be issued to cut it down.

raymond-wong-toronto

3) The main floor was compartmentalized into small rooms that made the home feel small, and extremely dark. Cosmetic upgrades would not address the functional shortcomings. A modern layout was required that made better use of the available space.

4) One tiny bathroom upstairs. So small I had to get into the tub to shut the door behind me.  The camera lens was not wide enough to capture how small this bathroom truly was.  

5) VERY little closet space in the bedrooms, no linen closet, no ground floor coat closet. All the closet space combined would not equal what you find in a small condo today.

6) Tiny kitchen.  Where do you even put the fridge? It would be impossible to later re-sell this home if the kitchen was not redesigned for today’s buyer.

A few more photos of the home in it's original condition when purchased

The Neighbourhood

Raymond-Wong-Toronto
Photo Credit: @Anislitim

The home is located in Regent Park, a neighbourhood that has seen a major transformation in recent years.  Once known for street gangs and drug trafficking, the City of Toronto fully embraced a revitalization program that broke ground in 2006. 
 
Fast forward to 2017, when I first came across this investment home, the result was a vastly transformed Regent Park.  Large green spaces with public parks, community centres, and schools are now surrounded by brand new condo towers.  A future Catholic school is being built literally steps away from the home. 


Pedestrian walkways are well lit, with easily accessible public transit.  The Don Valley Parkway is 3 traffic lights away and you can be at the onramp in 2 minutes if you catch all the green lights.  Eaton Centre is a quick 15 minute walk and the Financial District is a 20 minute walk away. 
 
Regent Park is now home to social housing that is much better integrated with the rest of downtown Toronto.  The new condos have brought in young professionals by the thousands and young families and downsizers have snapped up the surrounding homes.  The result is a much healthier mix of residents that represents the Toronto we expect. 

Market Conditions In 2017

raymond-wong-toronto

Summer 2017 is when this home was purchased. As a quick refresher, the Ontario government had just introduced a Foreign Buyer Tax that significantly cooled the real estate market. Freehold homes had dropped in value as much as 20% by some estimates.   Homes were on the market longer, and price reductions were a common sight. There was a chance to get a great deal here as buyers were scarce. Luckily for me, the sellers were motivated and I got a great deal that reduced a lot of the risks associated with real estate investing.

Design

Main Floor

raymond-wong-toronto

As you can see from the original layout attached, this type of floor plan simply does not generate much excitement among buyers. A complete gut job was needed for this home down to the brick, and rebuilt from there. The only thing worth keeping was the shell of the home, everything else would be new.

raymond-wong-toronto

A professional designer was hired to propose new layouts. The goal was clear: lots of sunlight and a full sized kitchen.   The first proposed layout is above. We are definitely on the right track here: kitchen moved to the middle of the home with an island, open concept with all the walls removed to all the free flow of natural lighting, and dining room moved to the back.  

raymond-wong-toronto


This final layout is winner.  We could have even more cabinet and countertop space if we removed the island and go with a galley kitchen.  Optional 18” island in the centre could be fabricated or purchased if desired.  The coat closet would steal a little space from the kitchen but it was an important detail to add.  We are now 99% settled on the main floor.  

Second Floor

raymond-wong-toronto

The top floor as is was not only an eye sore cosmetically, it was also functionally lacking.   I won’t repeat the deficiencies mentioned earlier, but it’s clear nothing could be salvaged.

raymond-wong-toronto

We settled on a layout quickly. Moving the bathroom to the back of the home allowed us to fit a spacious and bright bathroom while also fitting in a linen closet that this home currently did not have. The closets in this layout are full-sized and what you would expect in a modern home.   To future proof the home, rough-in for a stacked laundry machine was drawn into the linen closet for a separate upstairs laundry. This allowed for a completely independent basement rental unit if a future owner decided to pursue it, no shared laundry!

Basement

raymond-wong-toronto
Basement during demolition. Laundry in back right.
raymond-wong-toronto

The current basement is best described as a dungeon. I don’t have any photos of it because I did not want to spend any time down there. The back corner is a makeshift laundry room framed with planks of wood. It’s tucked away behind the furnace and hot water tank. To even get to it, you have to duck under the supply/return ducts for the HVAC which runs down the middle of the entire basement. There’s a 3 piece washroom also, but nothing worth keeping.  

raymond-wong-toronto

The new layout puts an emphasis on maximizing the open space. My intention is to sell this home in the distant future, leaving the open space unfinished gives the next owner flexibility in how he/she wants to utilize the basement as a basement rental, bedroom, or rec room.

Relocating the furnace to the back corner made the most sense, not only will it free up valuable space in the centre of the basement, but it also allowed us to remove the supply/return ducts to the exterior wall. Guests will no longer have to duck their heads under that bulkhead each time they went down to the basement.

We salvaged the space around the stairs to wrap our full bath around it. We’ll also fit a laundry room in there to share the plumbing           .

Demolition & Framing

raymond-wong-toronto
Dining room and living room

At this point, our drawings had been submitted to the city for permits, which we received.  The real work begins.  We stripped the home down to the brick.  Photos are the best way to illustrate this. 
 

Unexpected Cost #1:
top floor load bearing wall.  Once the drywall was removed and the existing framing was exposed, it become obvious that the top floor had a load bearing wall that supported the flat roof at the back of the home.   We now needed a structural engineer to revise and resubmit our permit drawings to accommodate a beam and the related posts to carry the weight down to the foundation. 
 
At the end of demolition, we had a blank canvas.  The space was already feeling bigger without the walls and the natural lighting had improved also.  Usually at this stage of construction on TV, we would report back with interesting finds during demolition.  Sadly, not much uncovered except for a snakeskin that was likely part of an old Chinese instrument. 
 
New framing went up immediately after the completion of demolition.  At this stage, the bones of the home are up and I could get a feel for the size of each individual room.  One improvement suggested by the contractor was to bump up the ceiling height in the master bedroom from 8’ to 9’.  It’s the most important bedroom and there was ample space in the attic to accommodate the higher ceiling. 


HVAC & Rough-ins

Raymond-wong-toronto
Main trunk HVAC install

We began rough-ins with the HVAC crew. It immediately became clear that our proposed plan would not work. The original plan was to supply to the second floor with heating and cooling by running the main return/supply trunks from the basement furnace, along the rear wall and up to the attic. Once in the attic, we would have vents cut through the ceiling and supply air from the top down. This allowed us to avoid unattractive bulkheads on the main floor for a cleaner aesthetic finish.

HVAC supply and return going into the attic

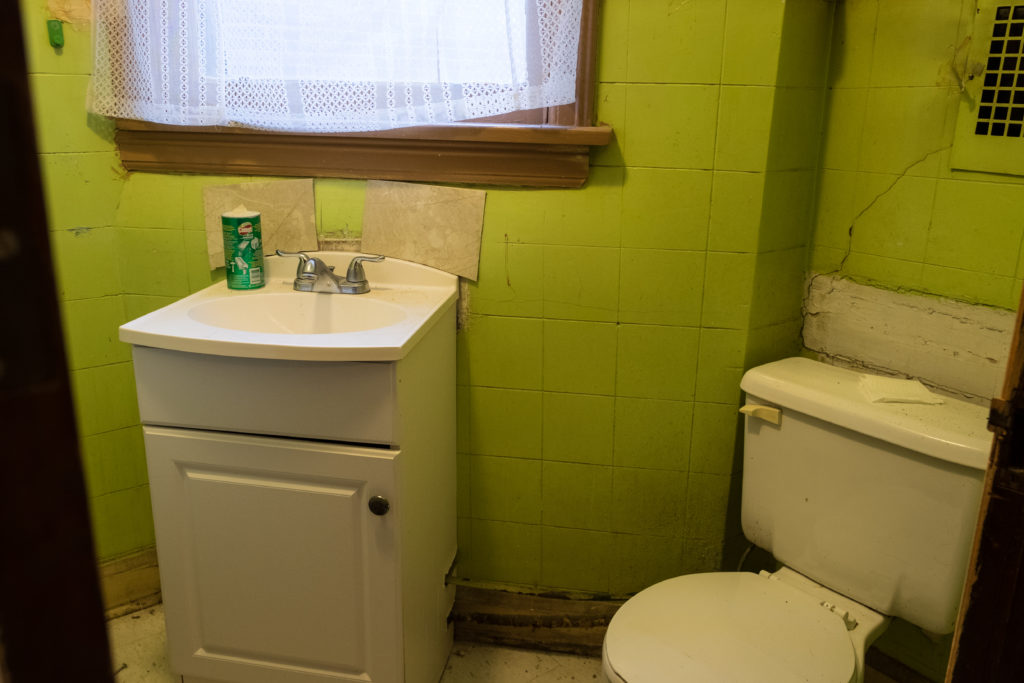
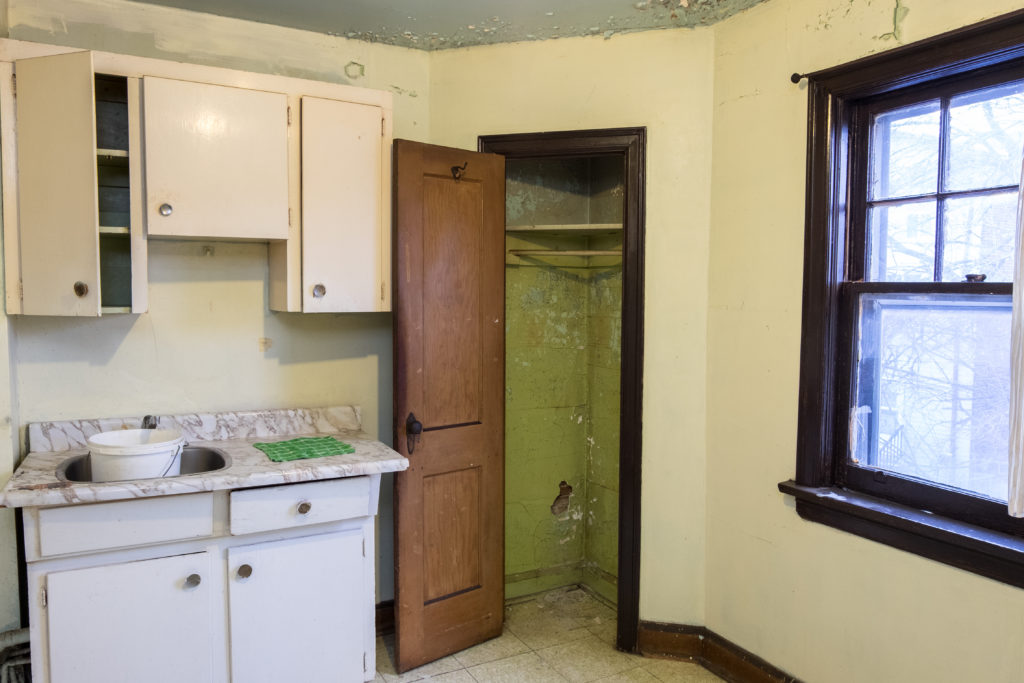
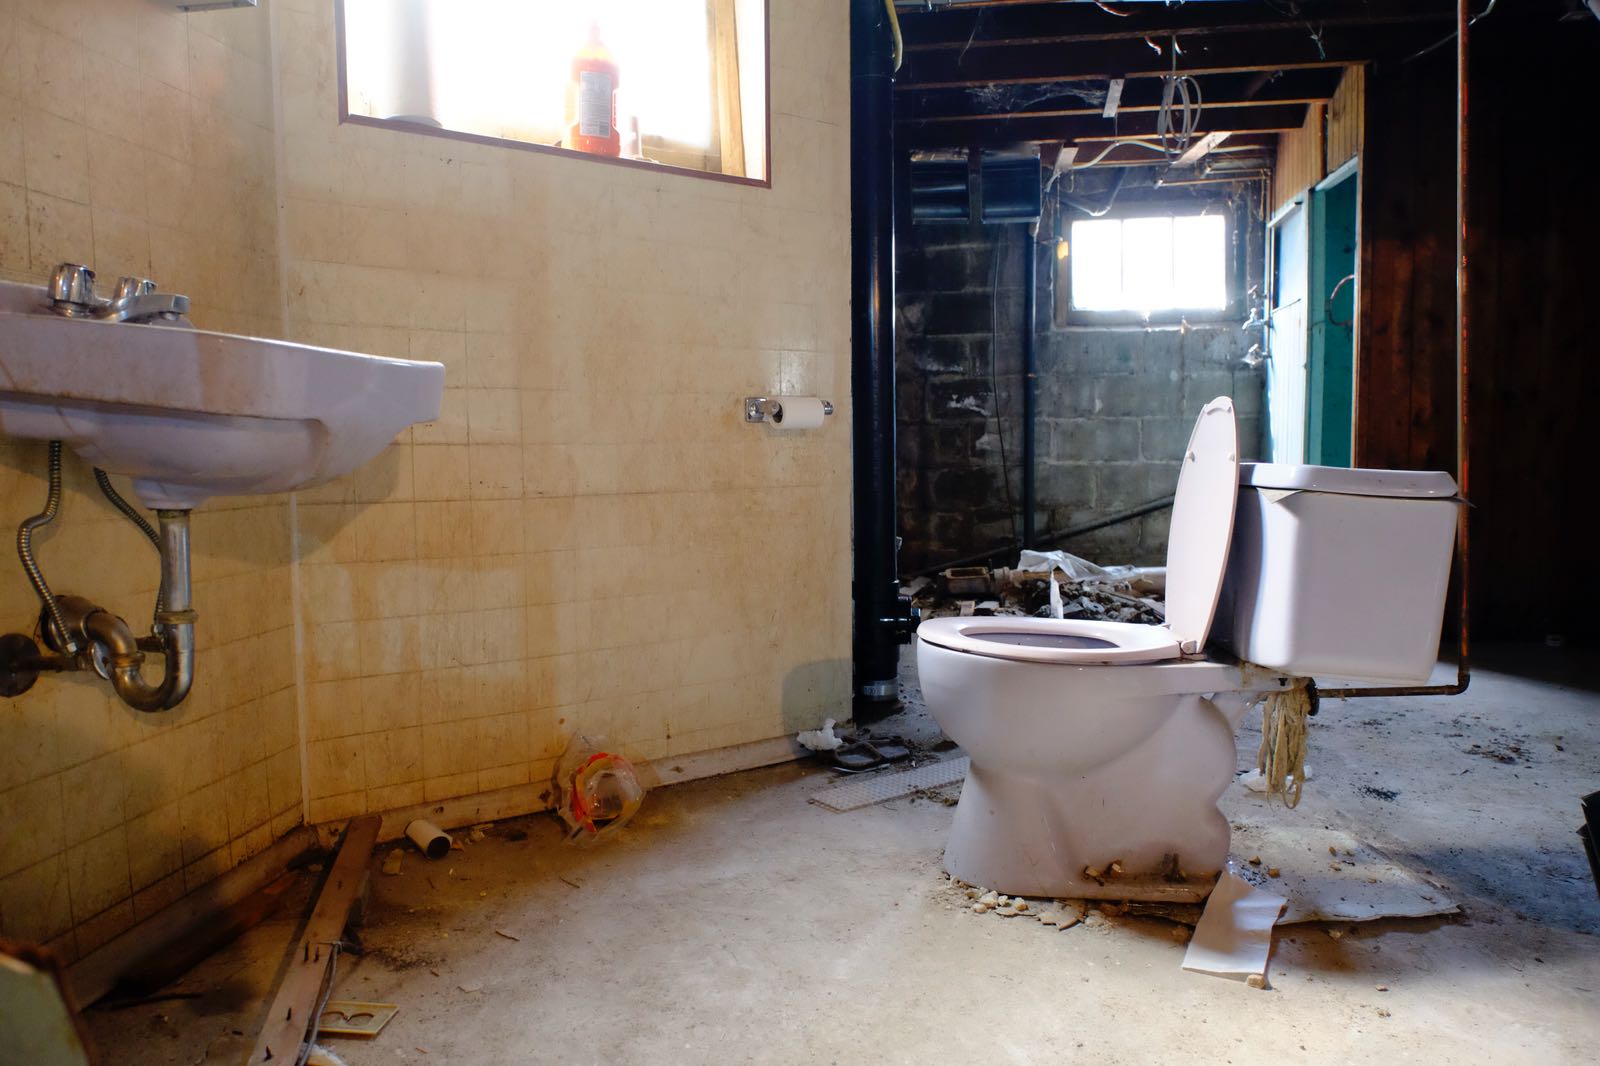
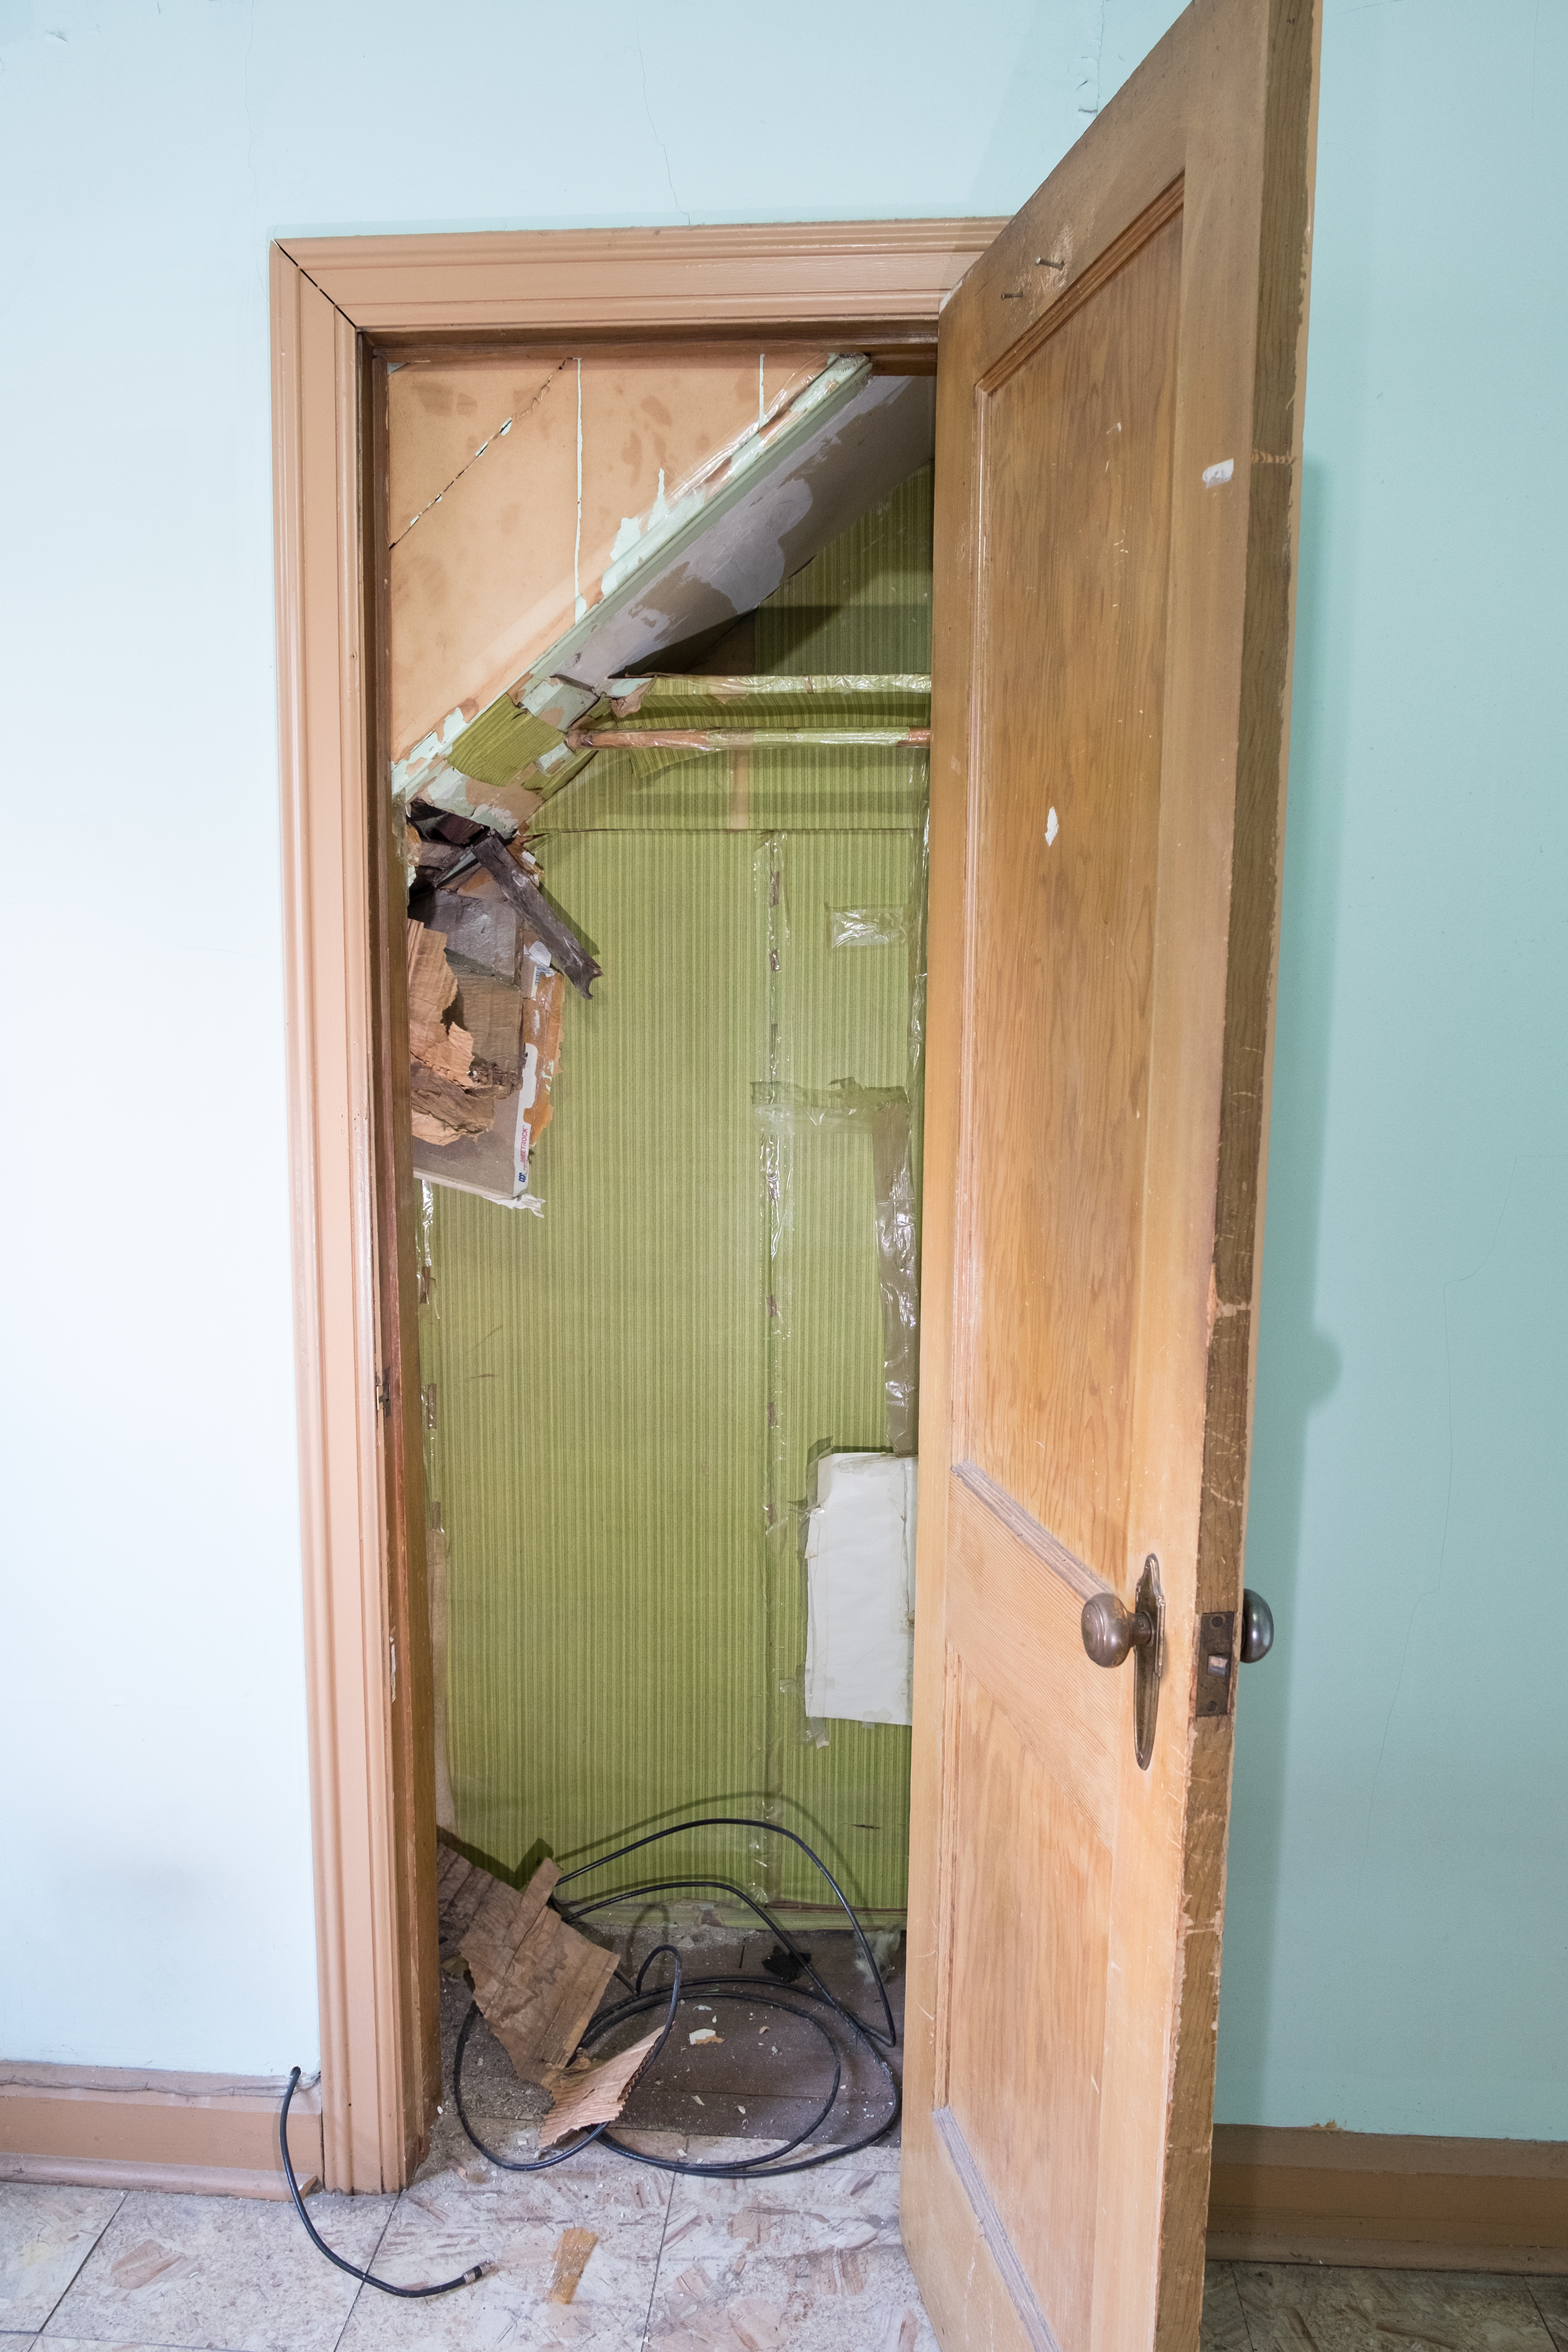
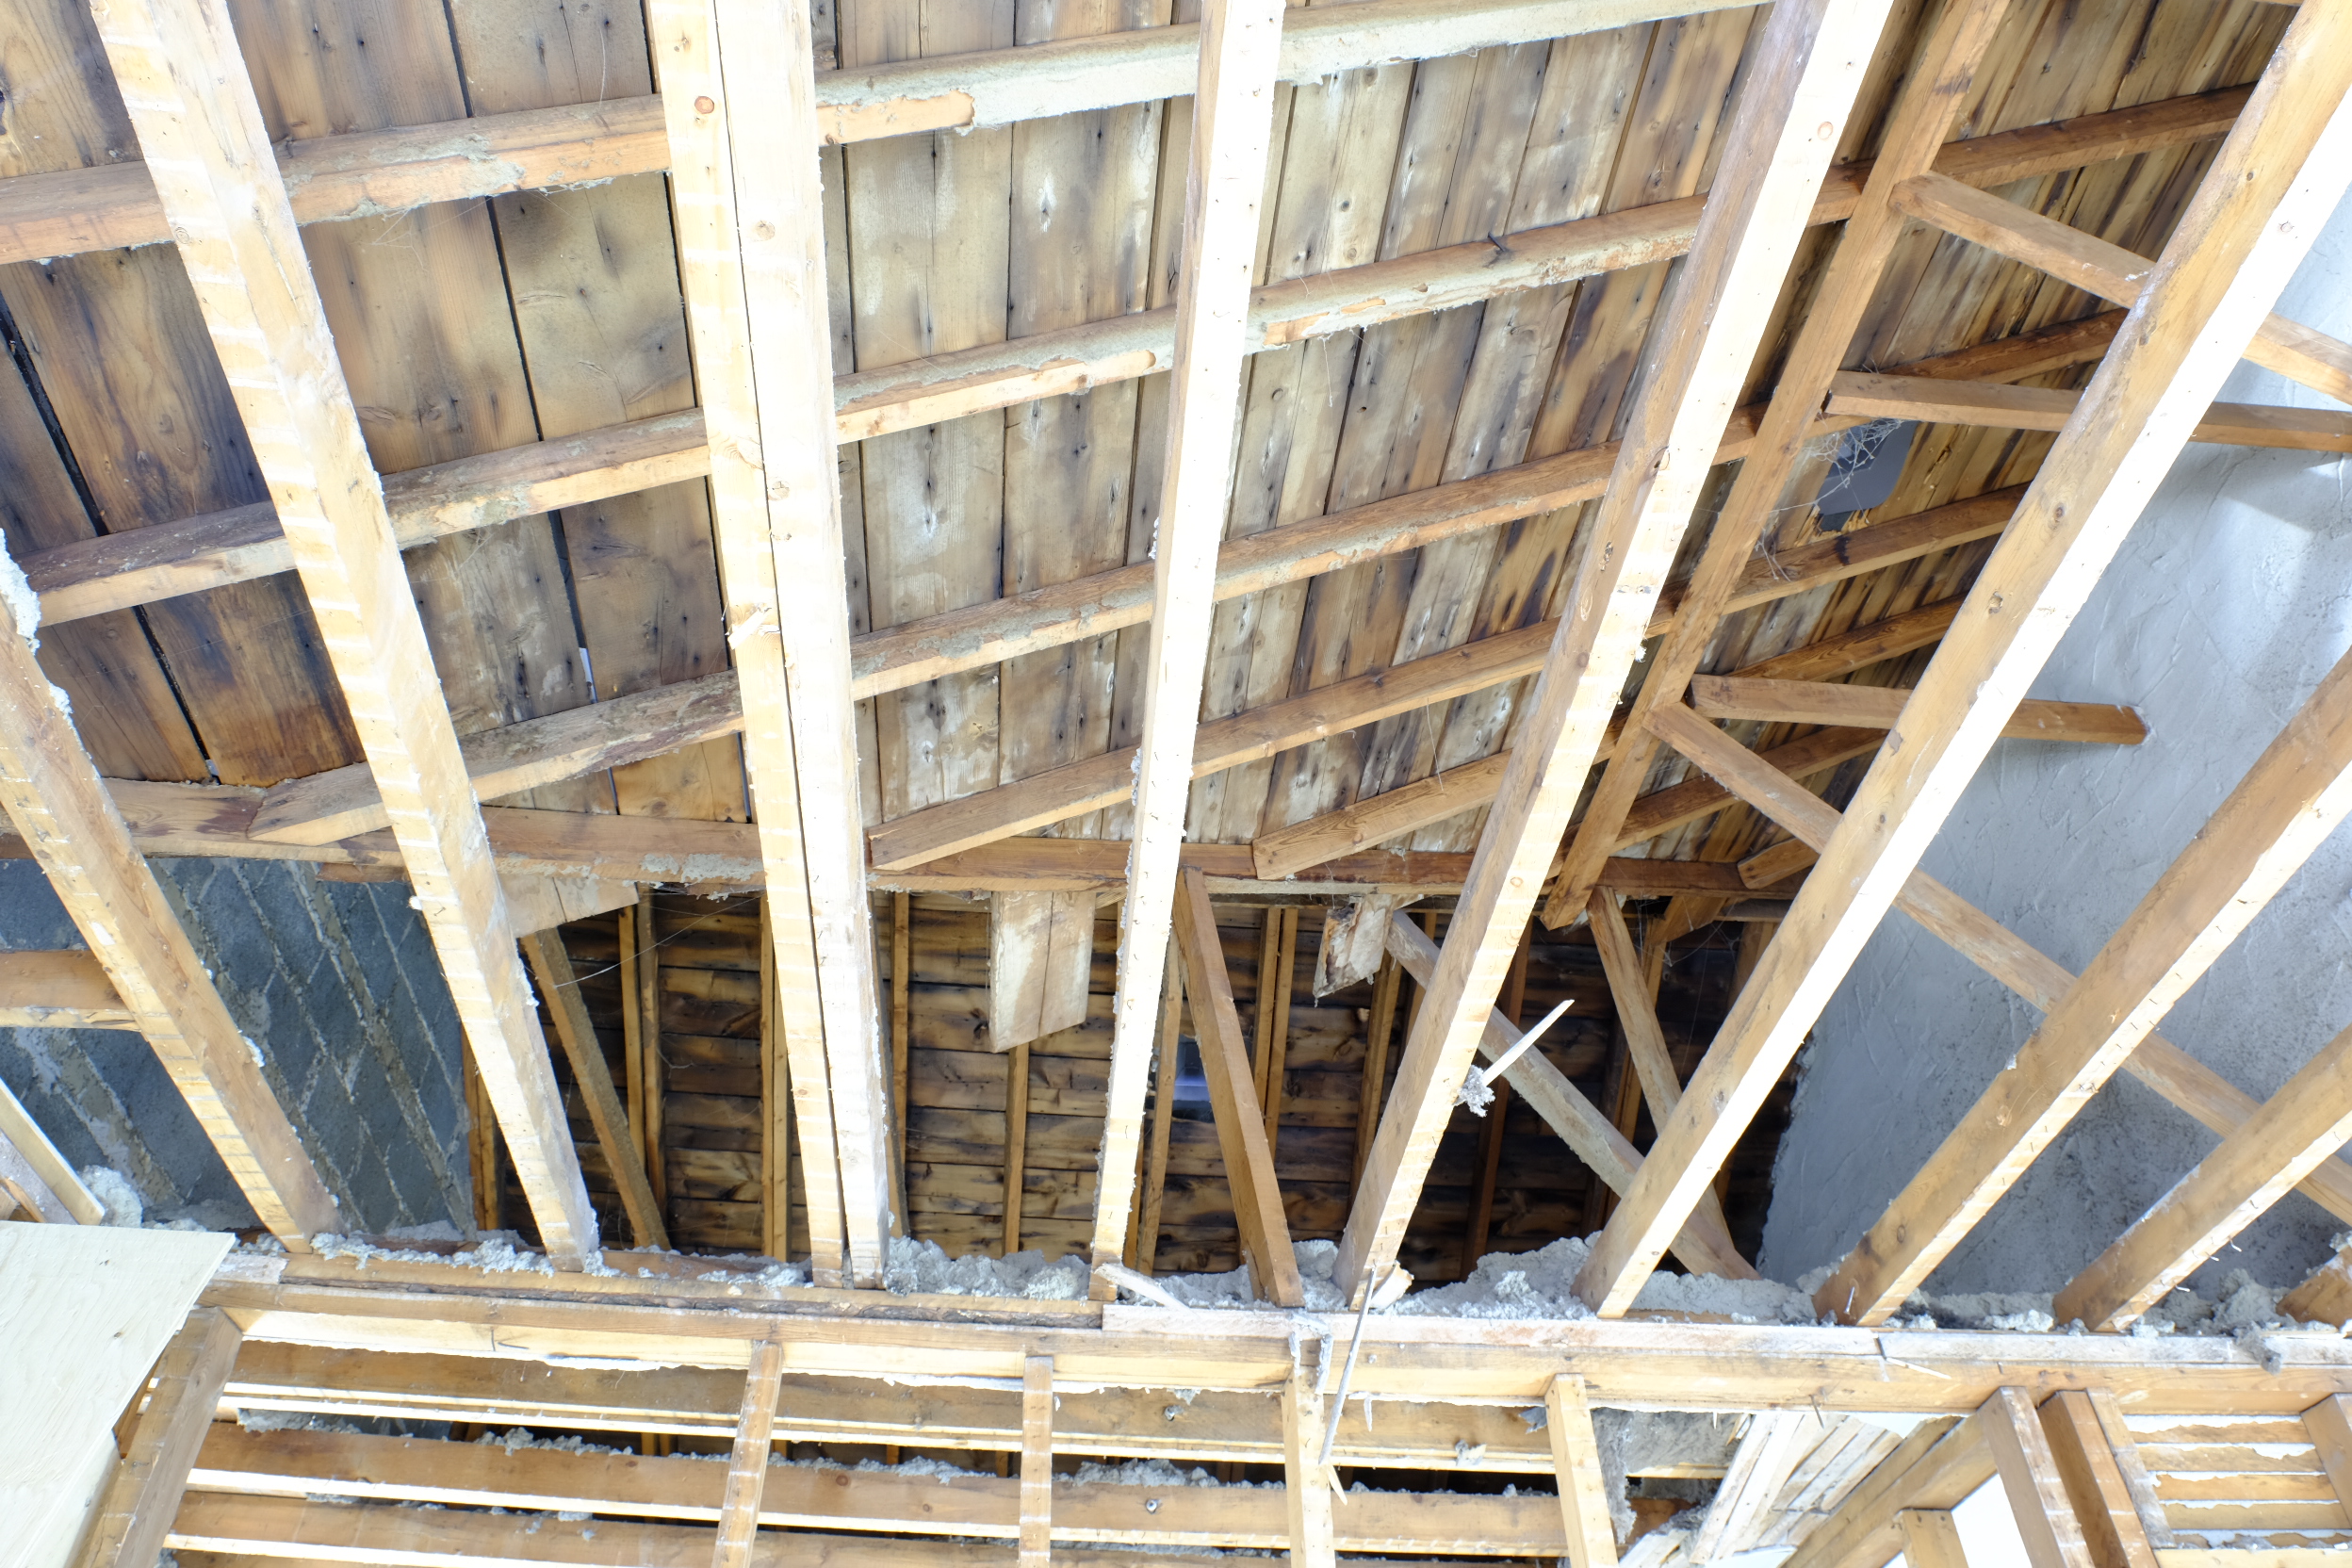
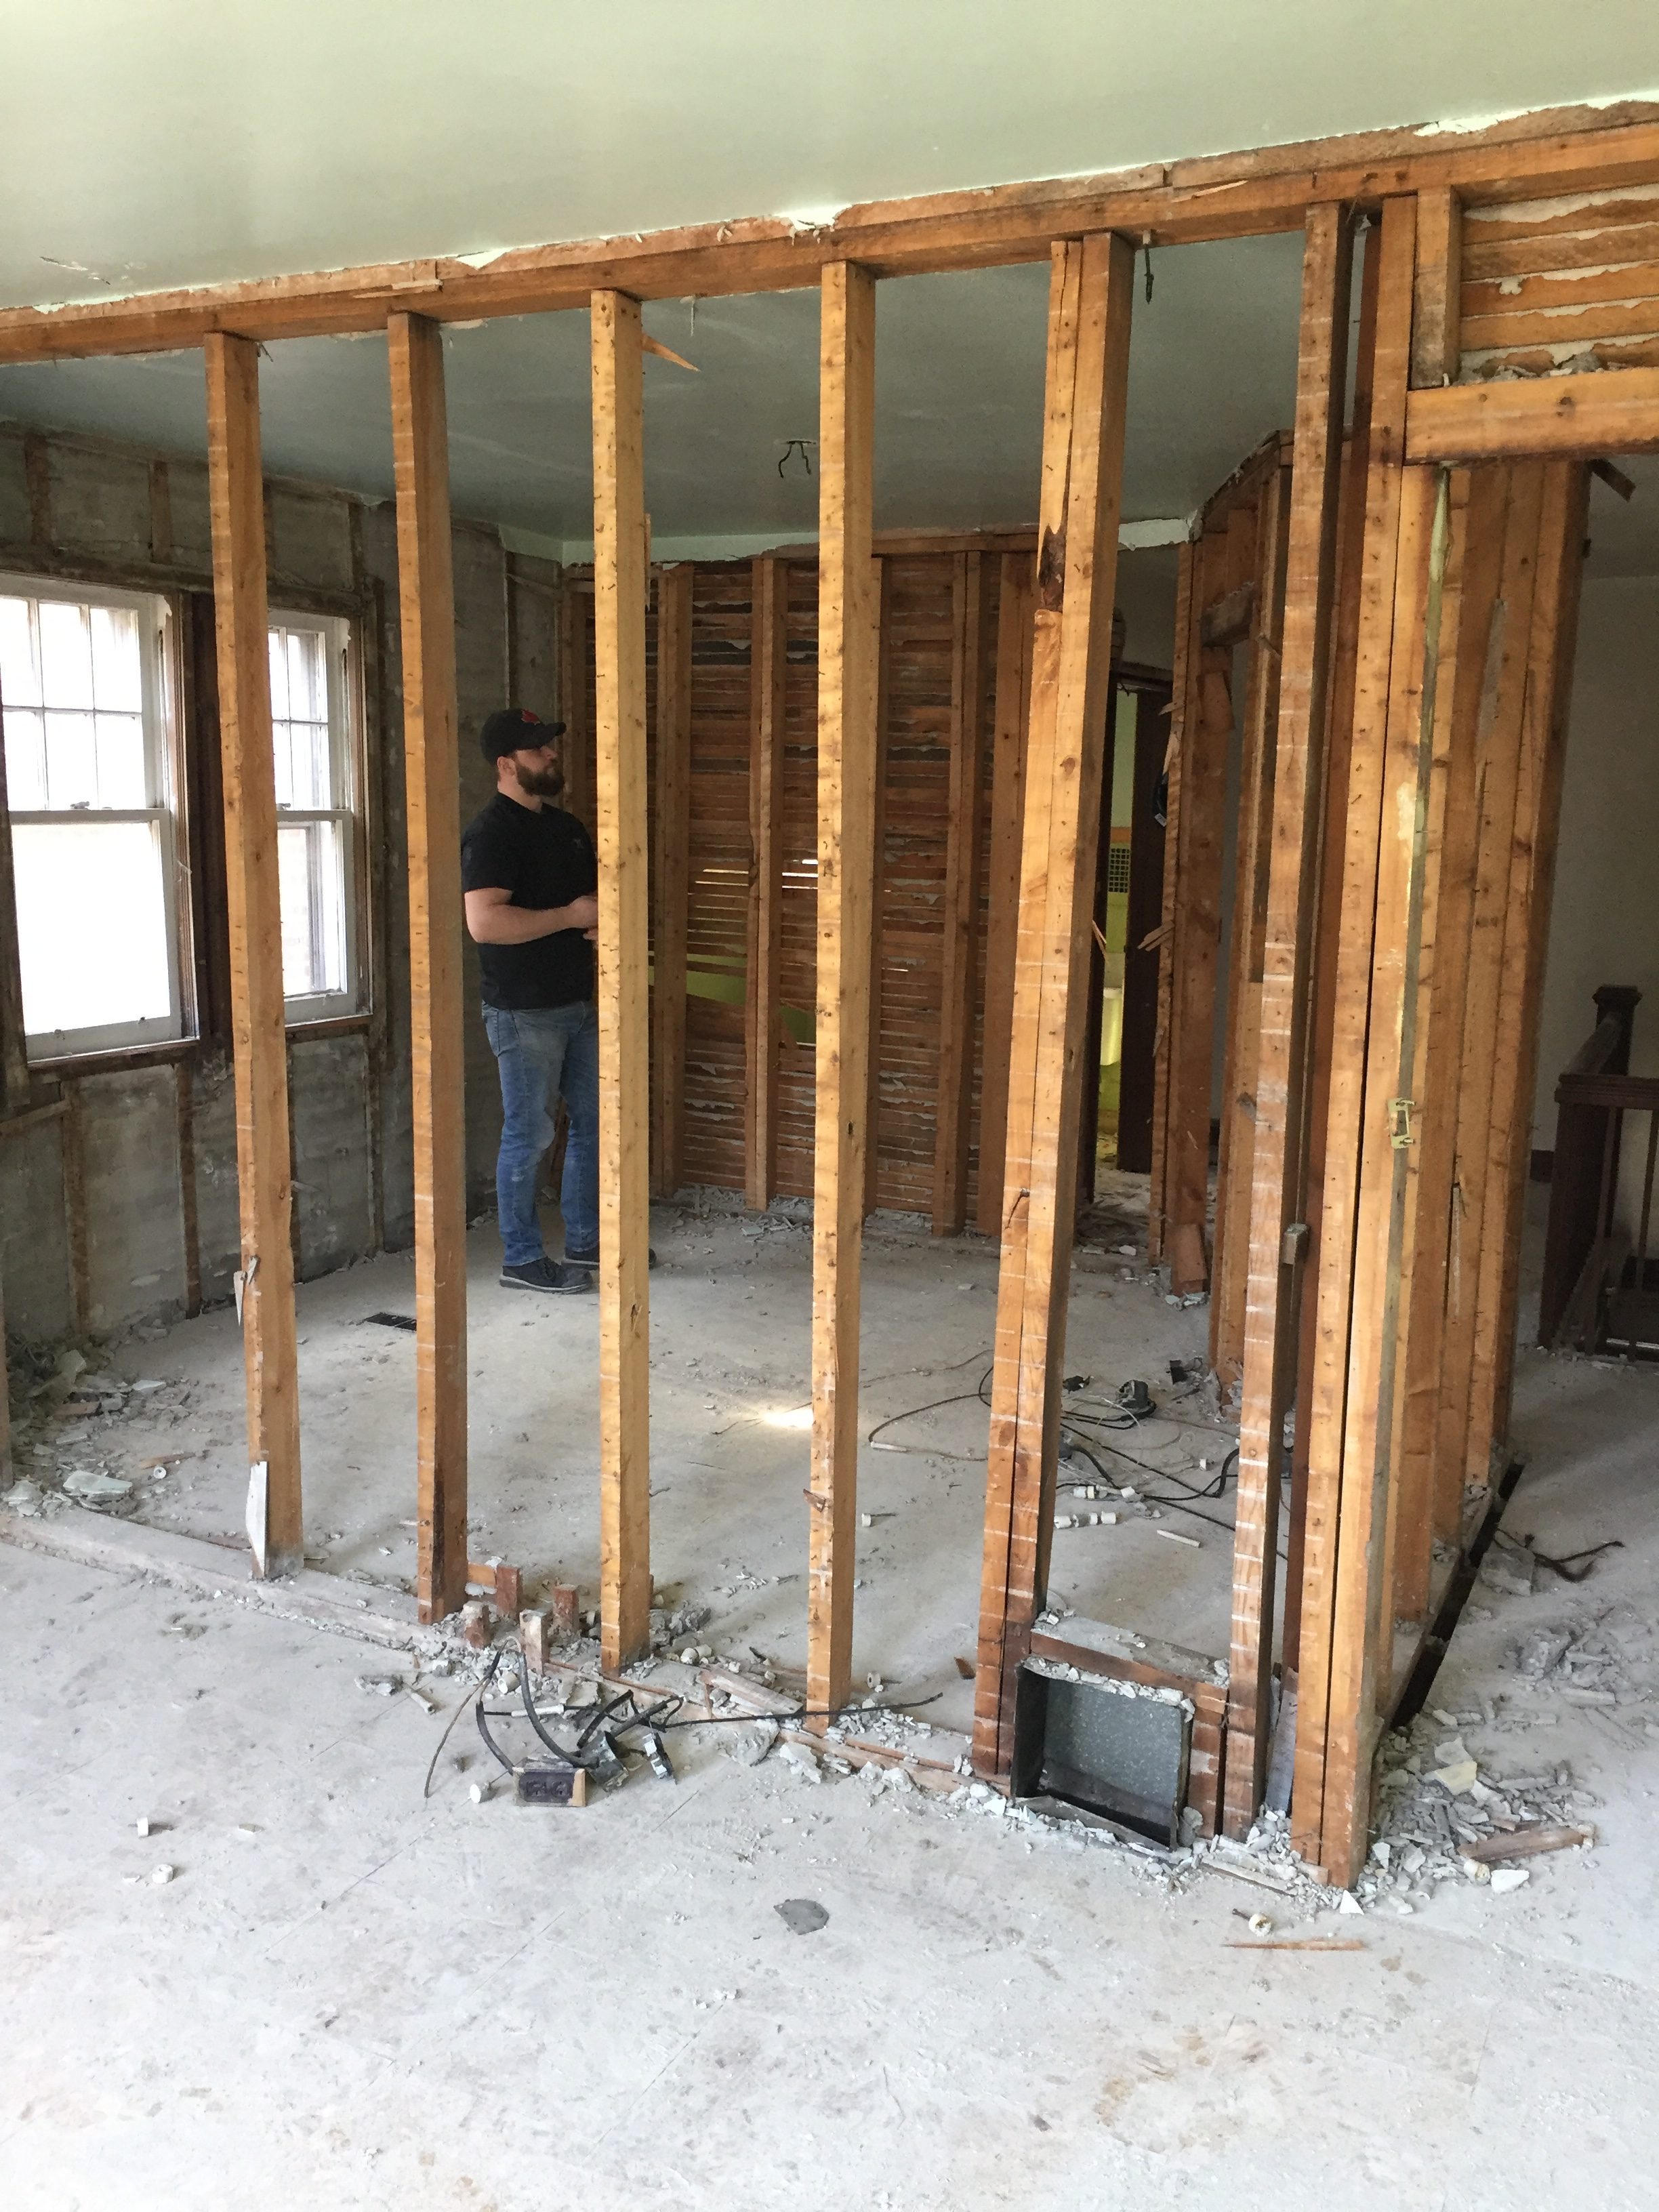
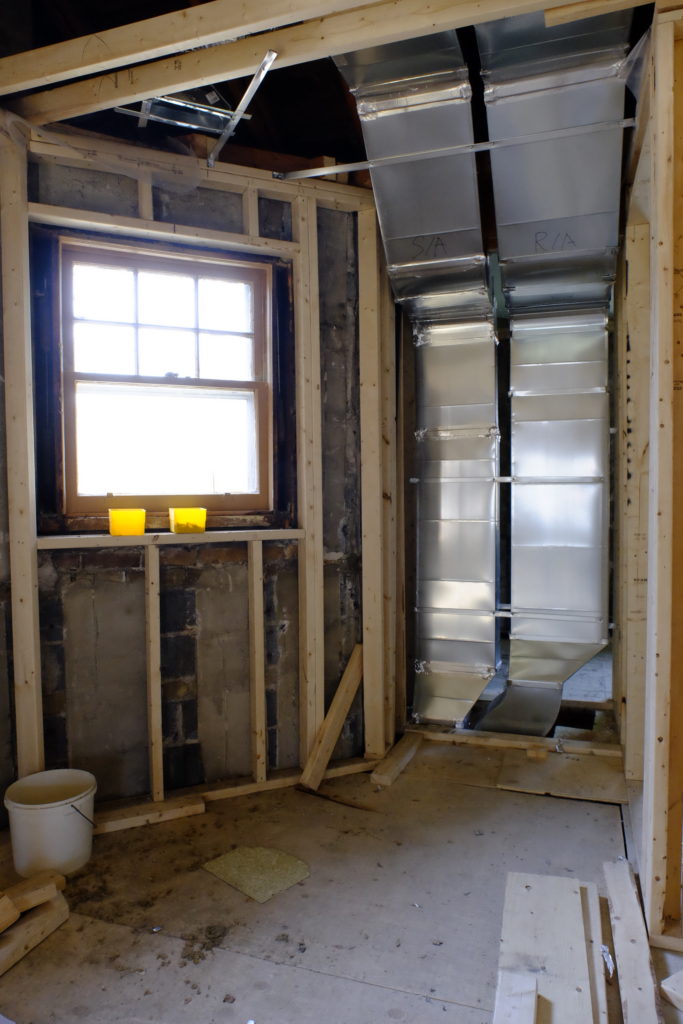
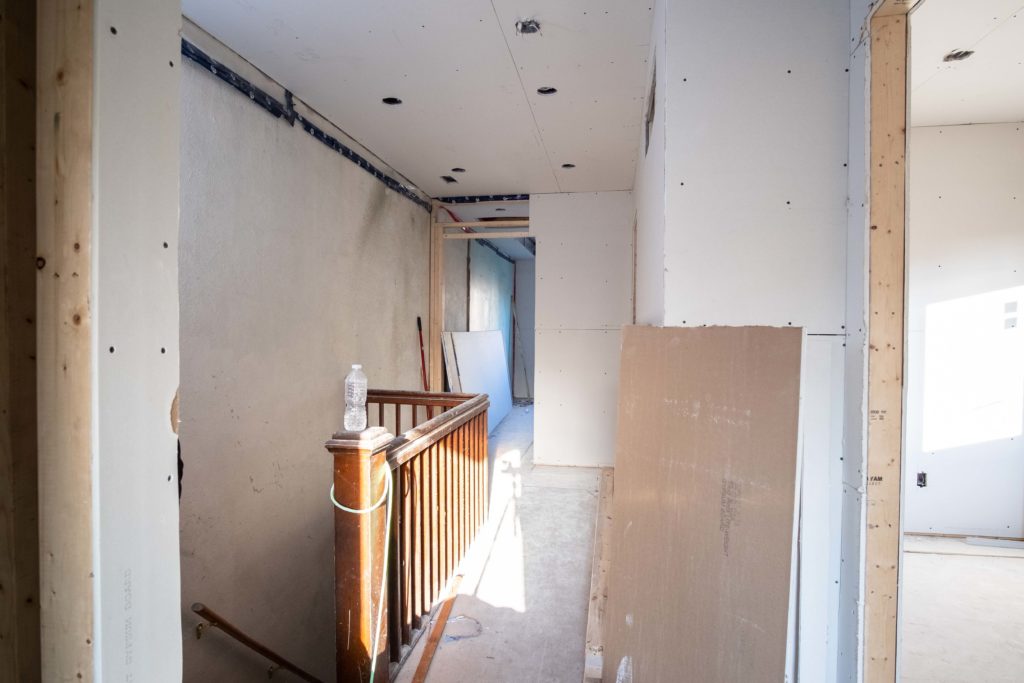
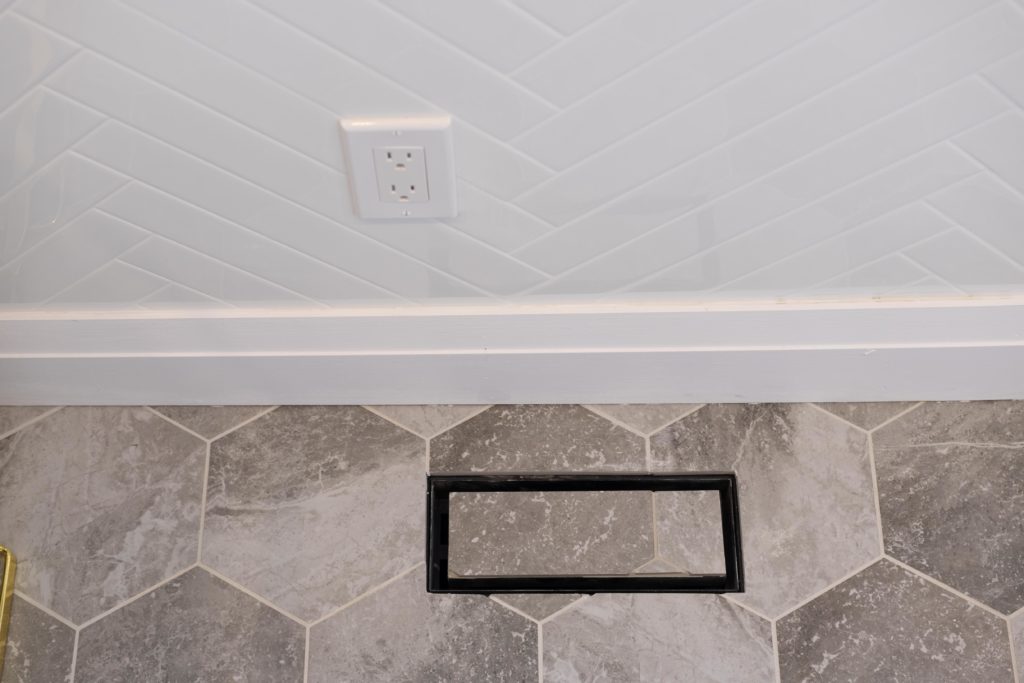
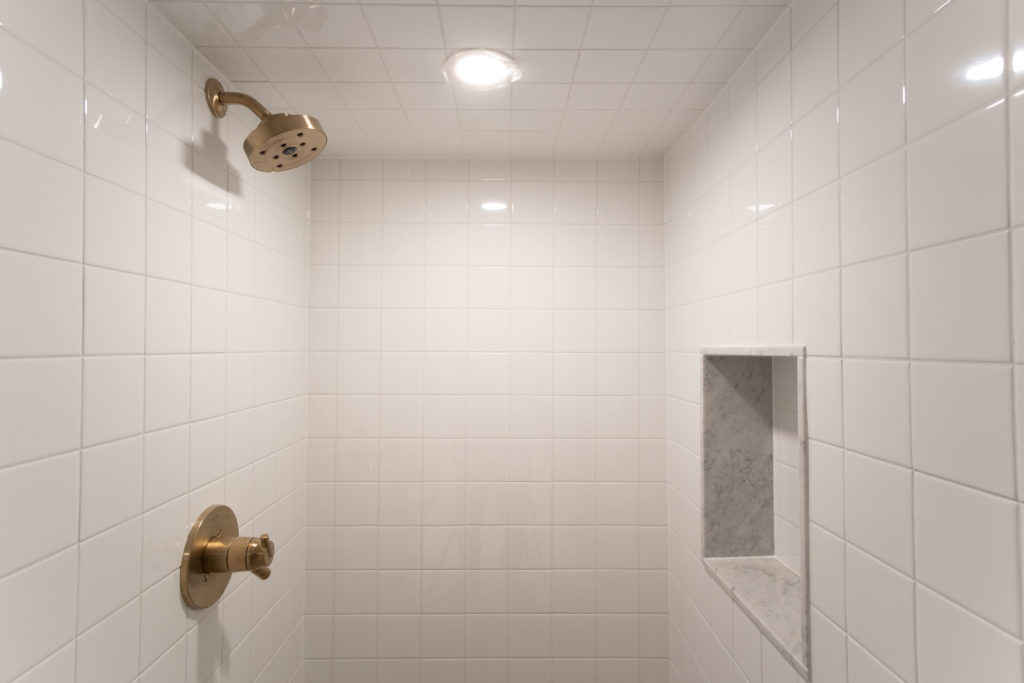
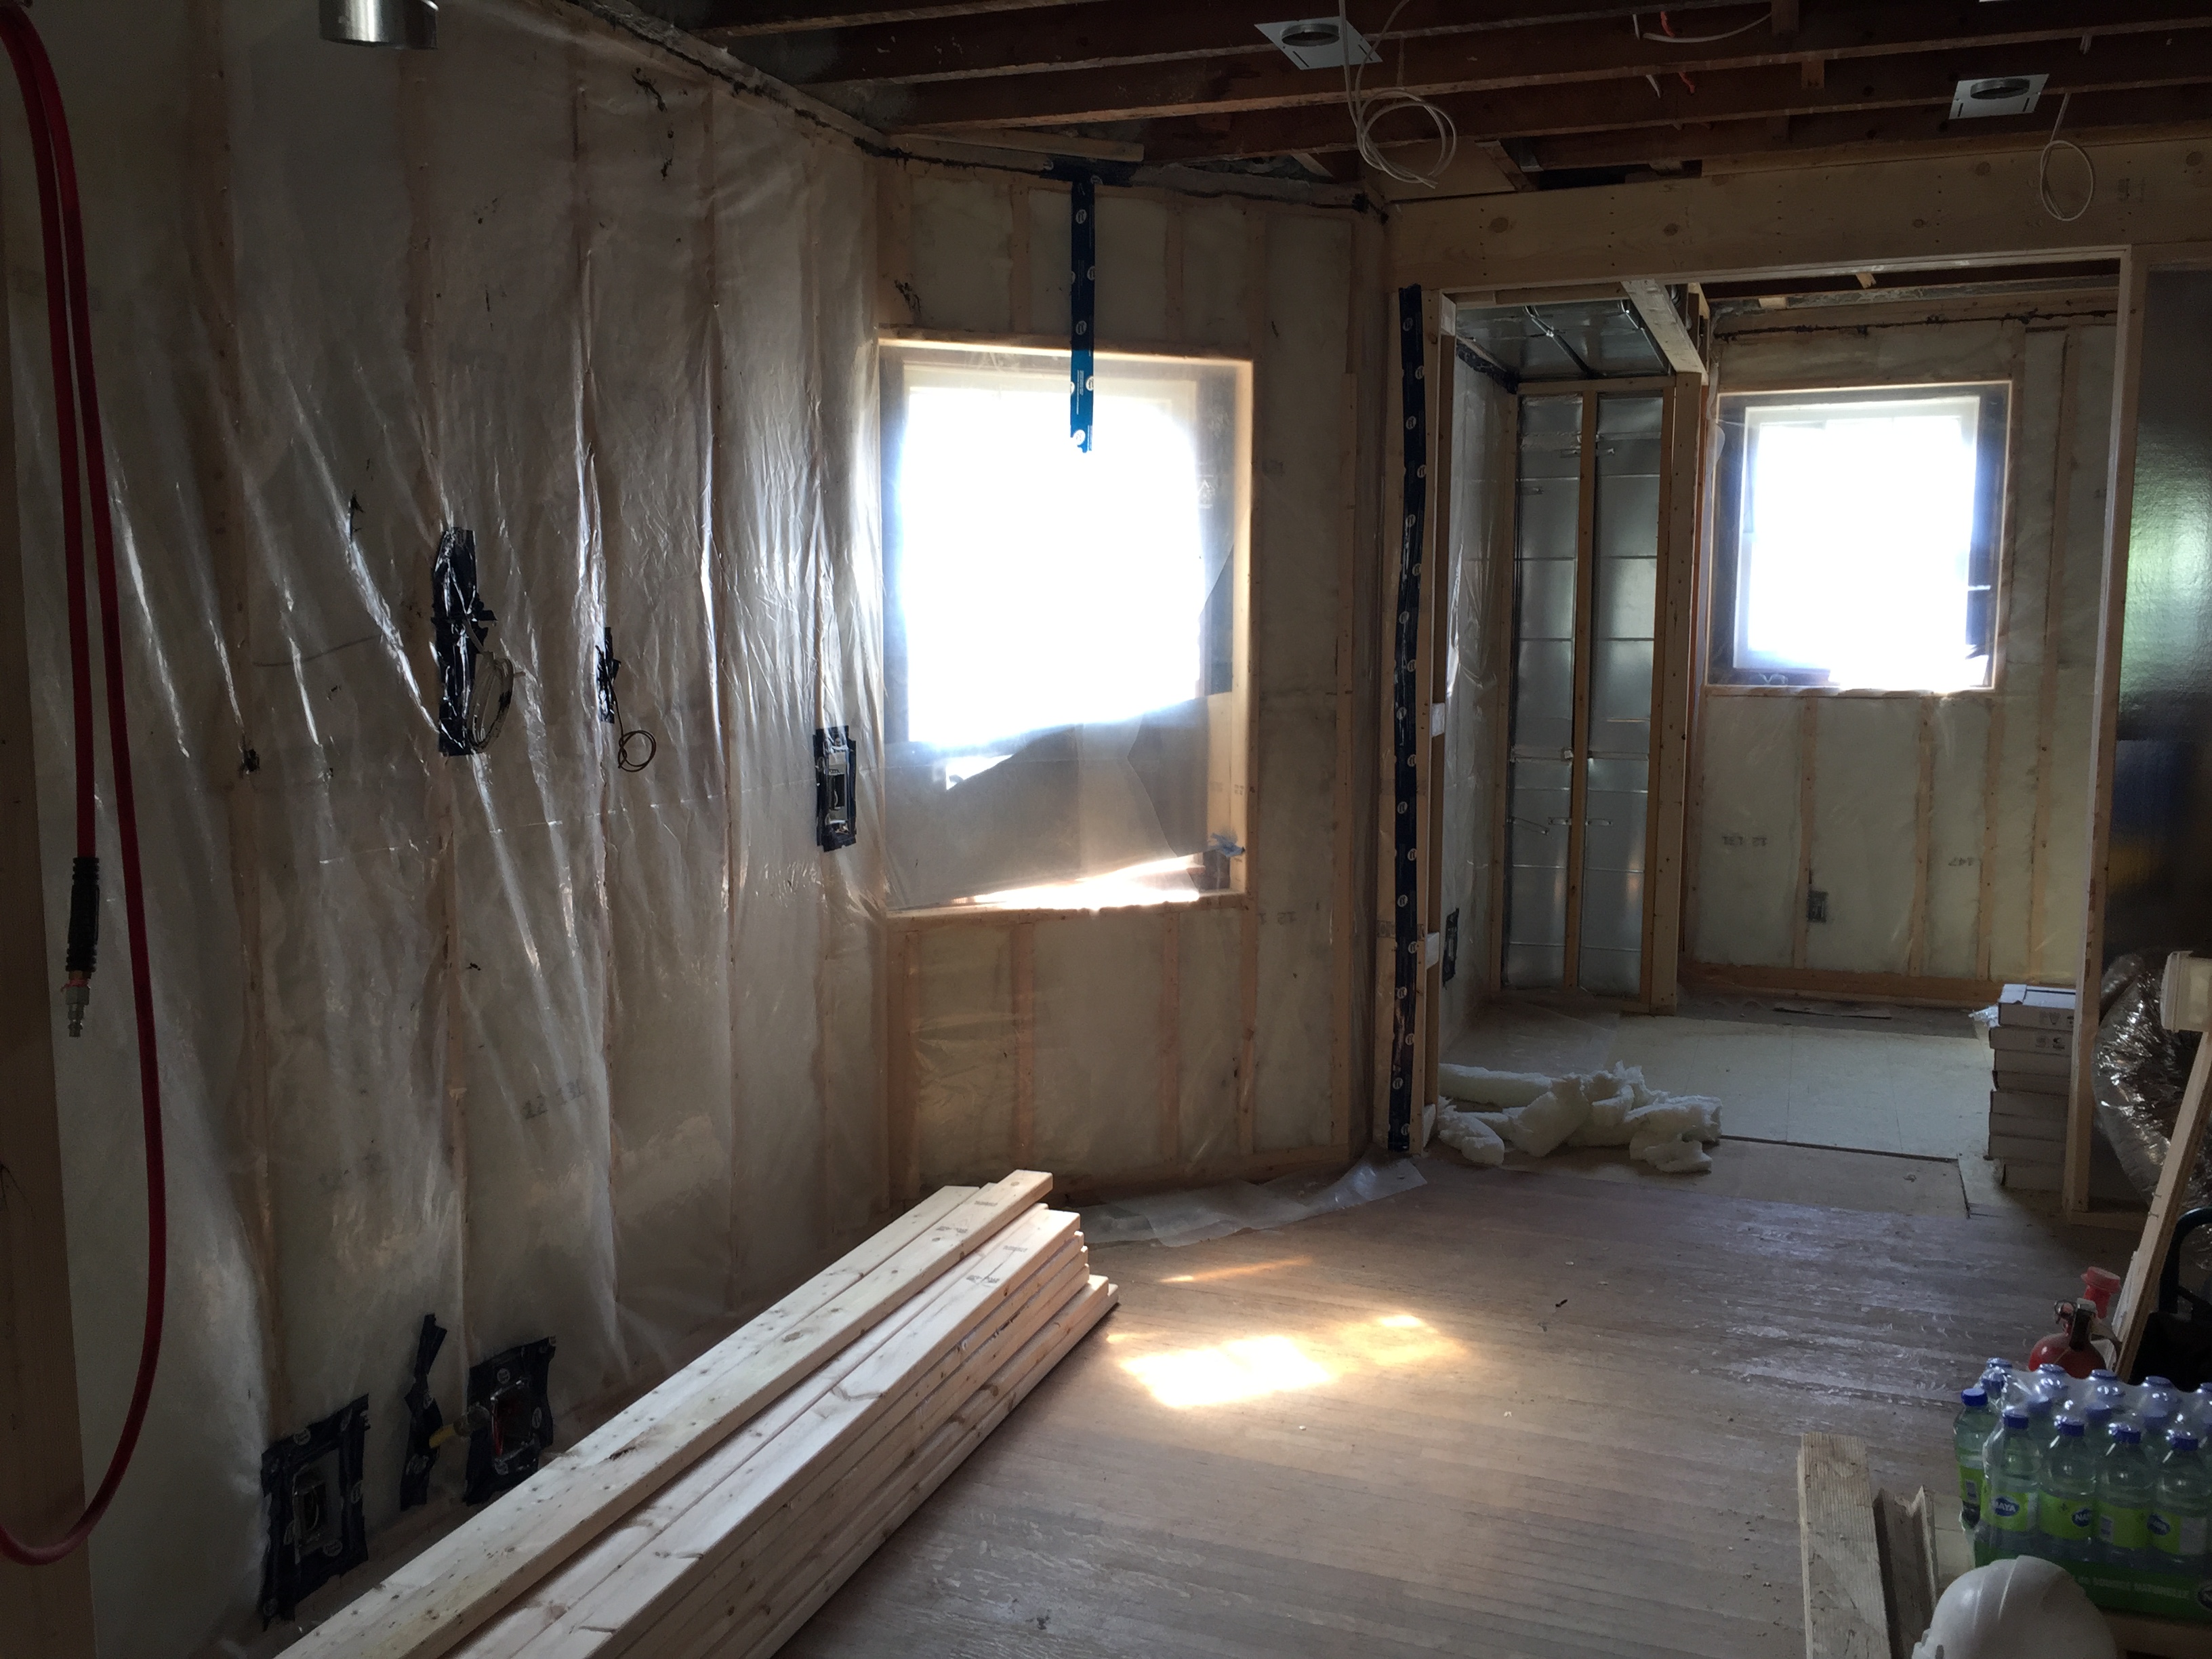
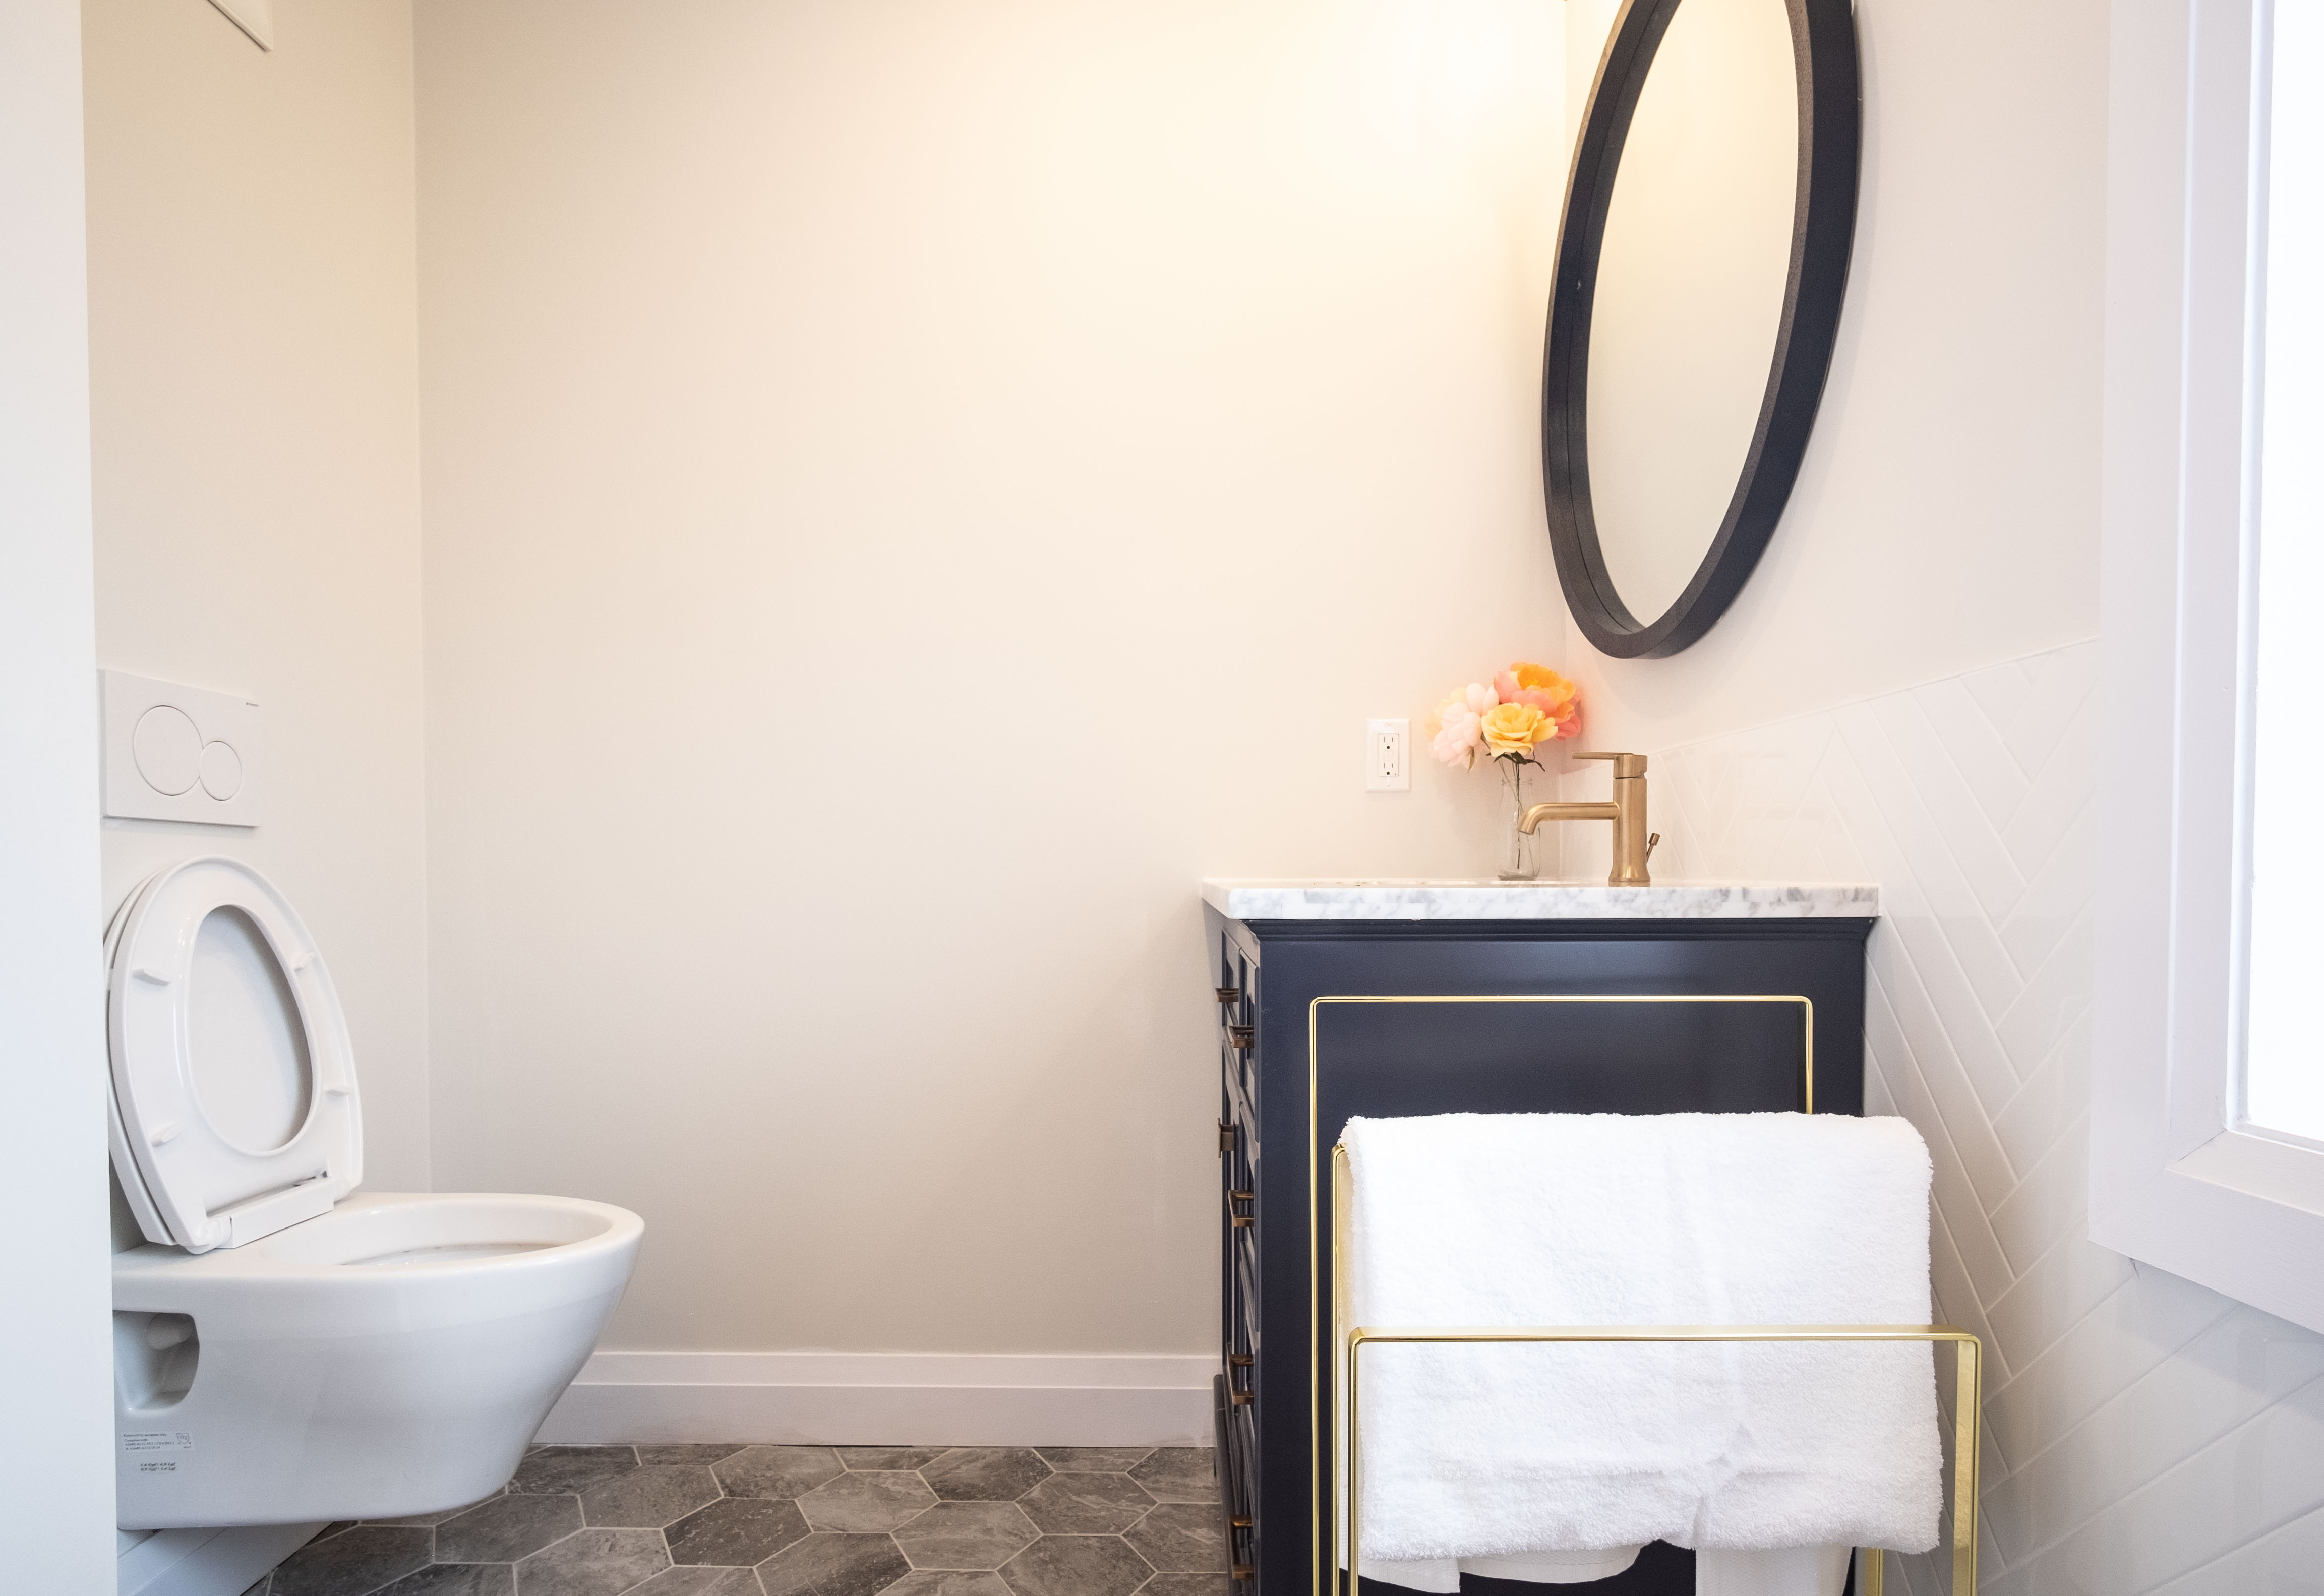
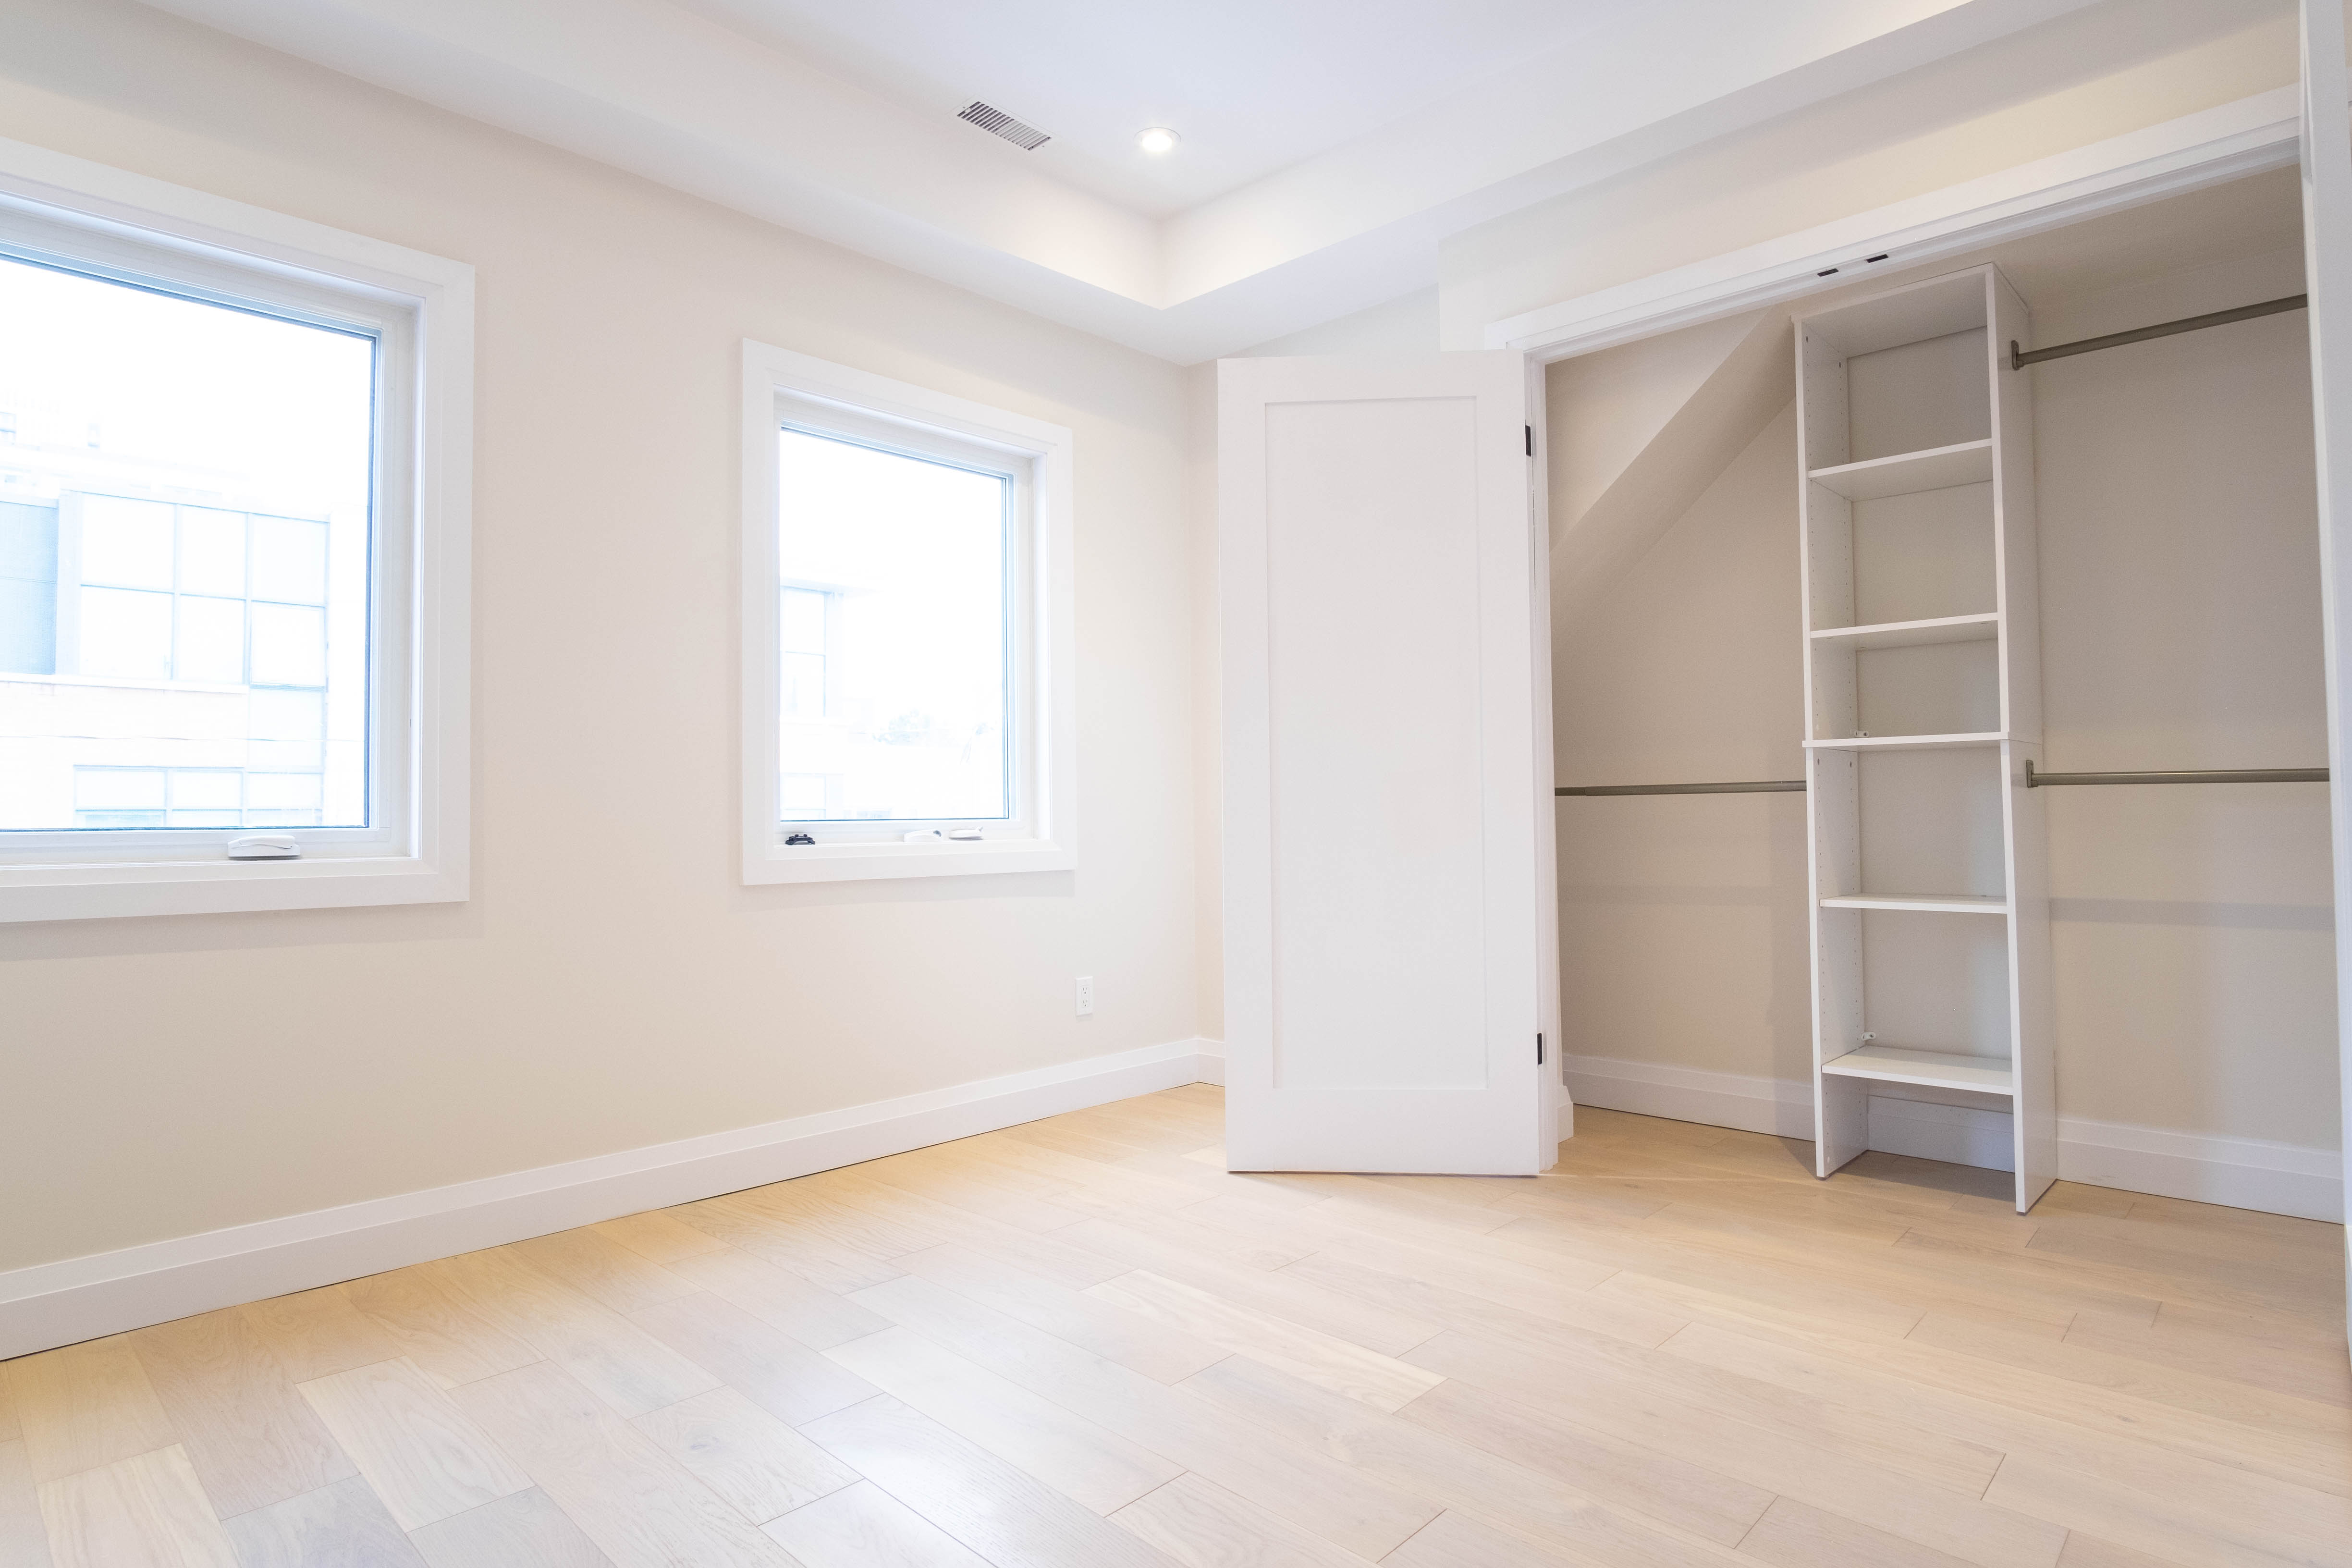
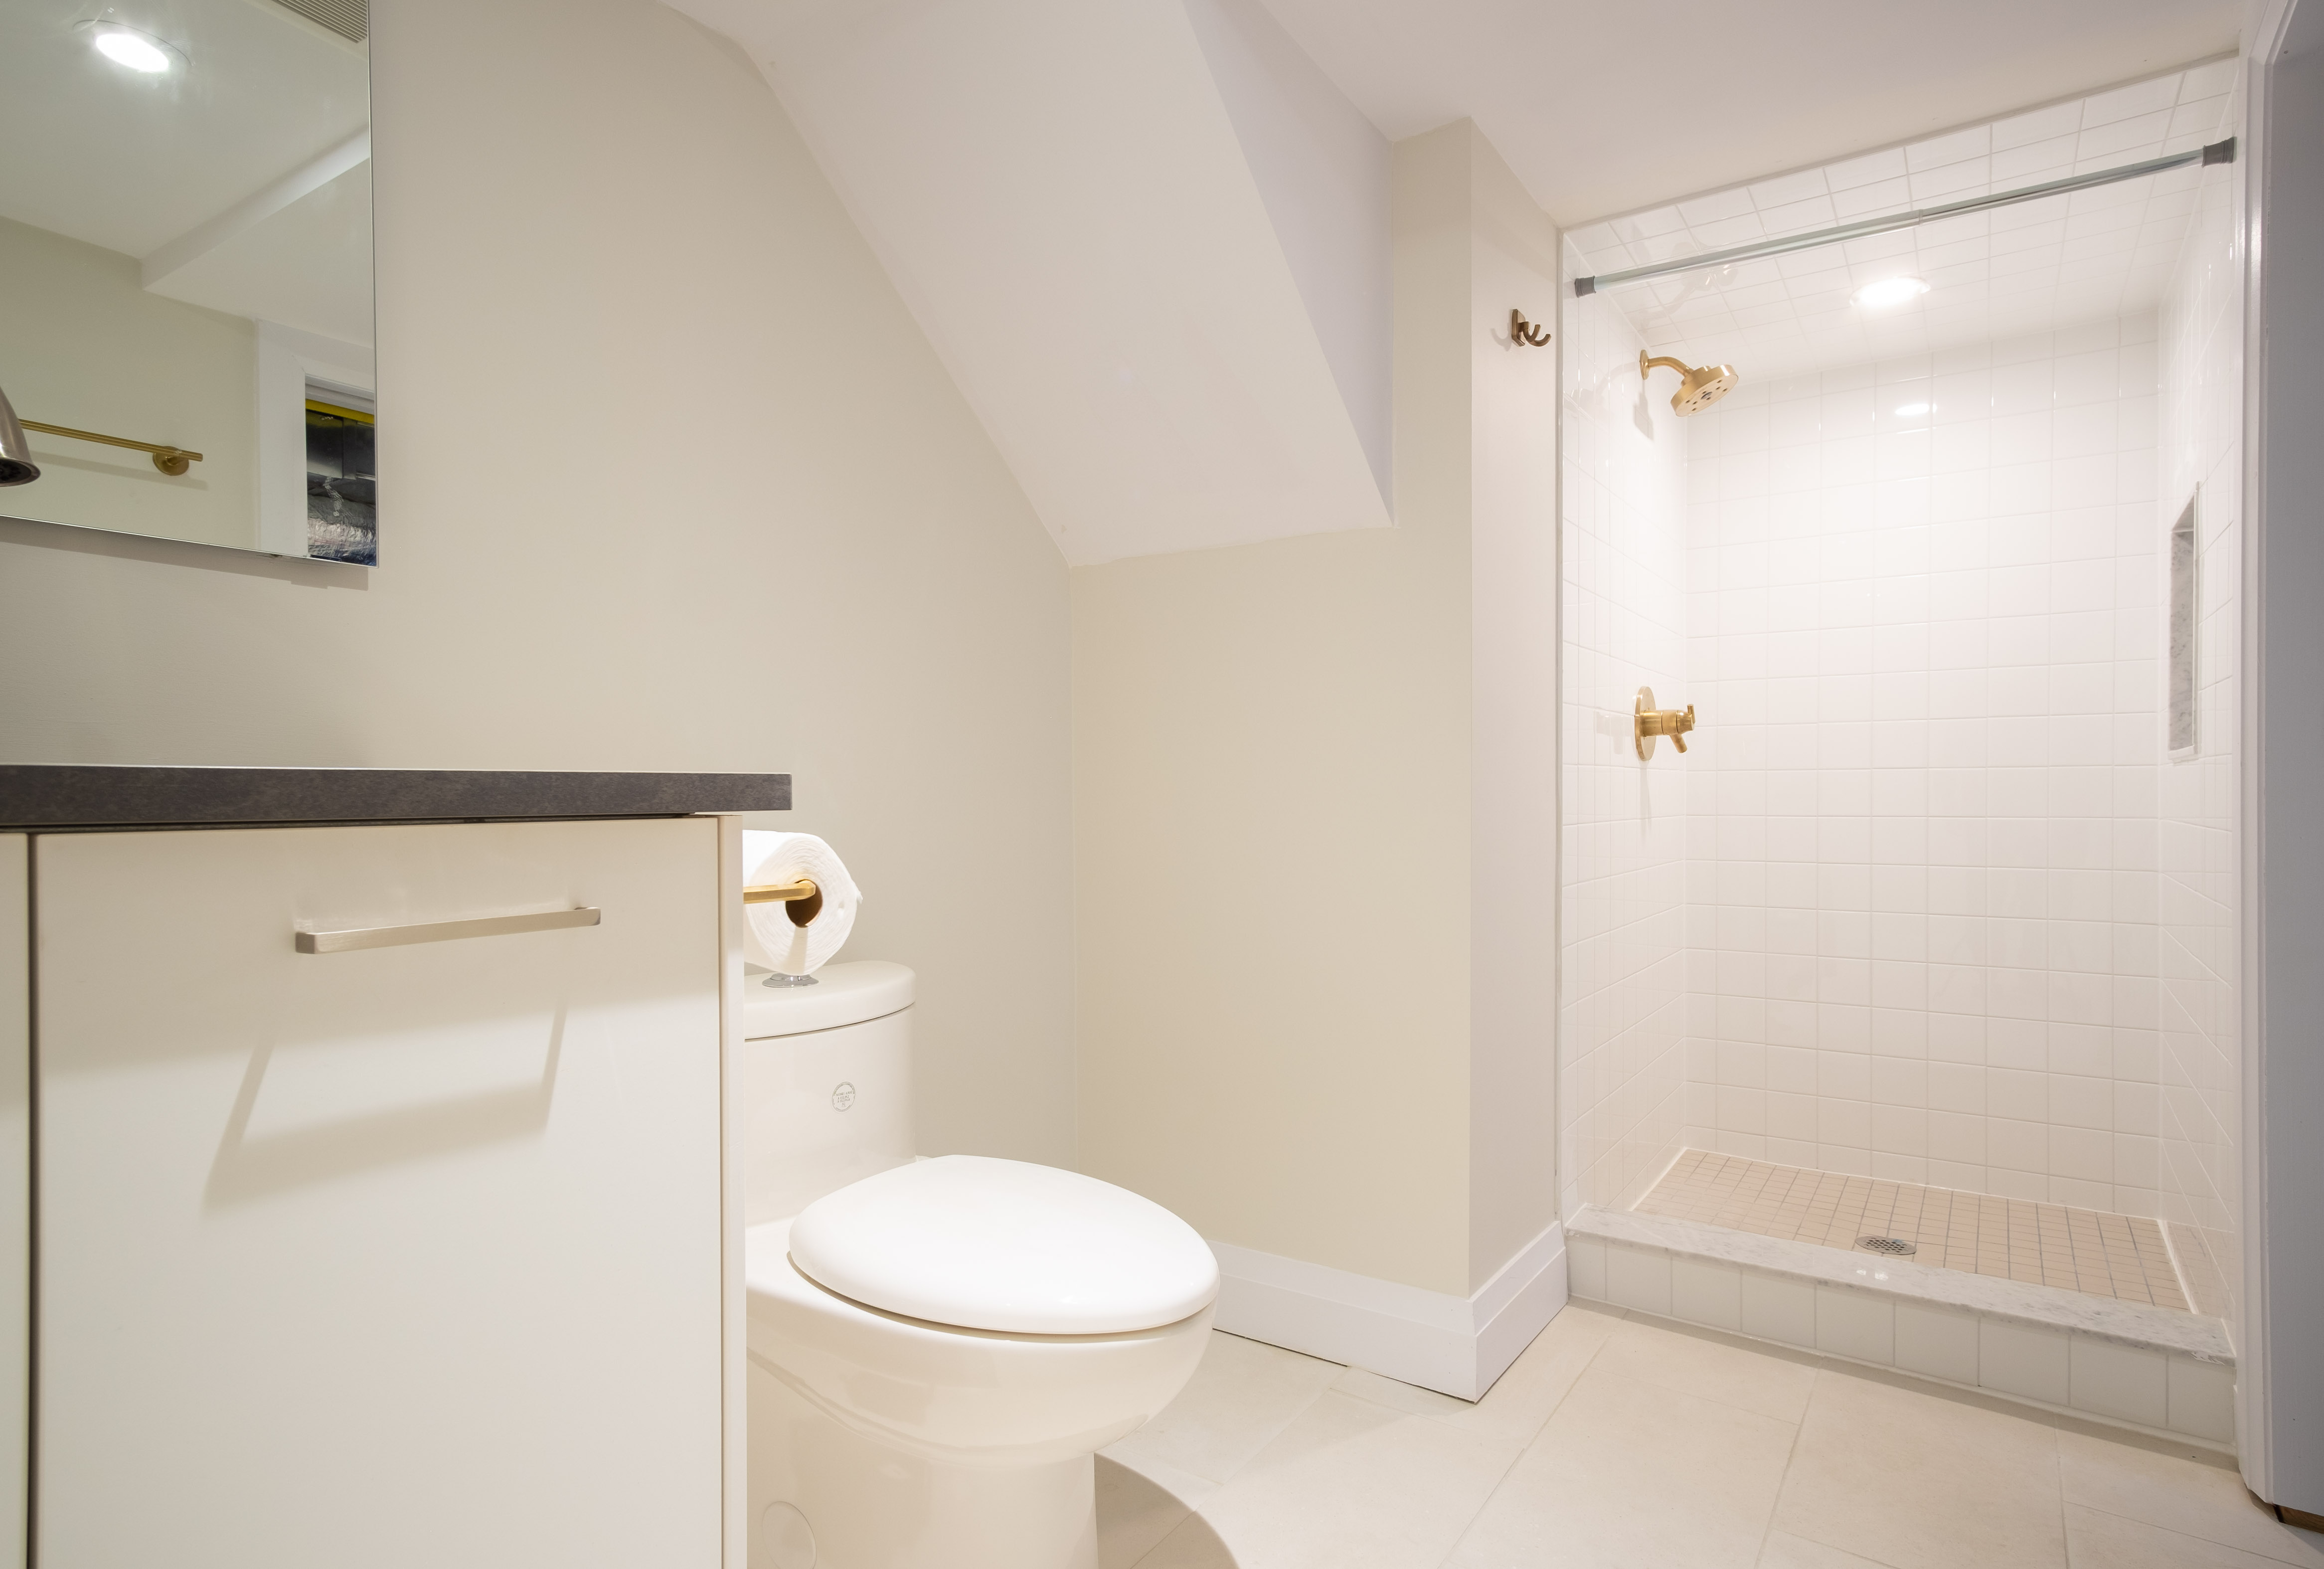
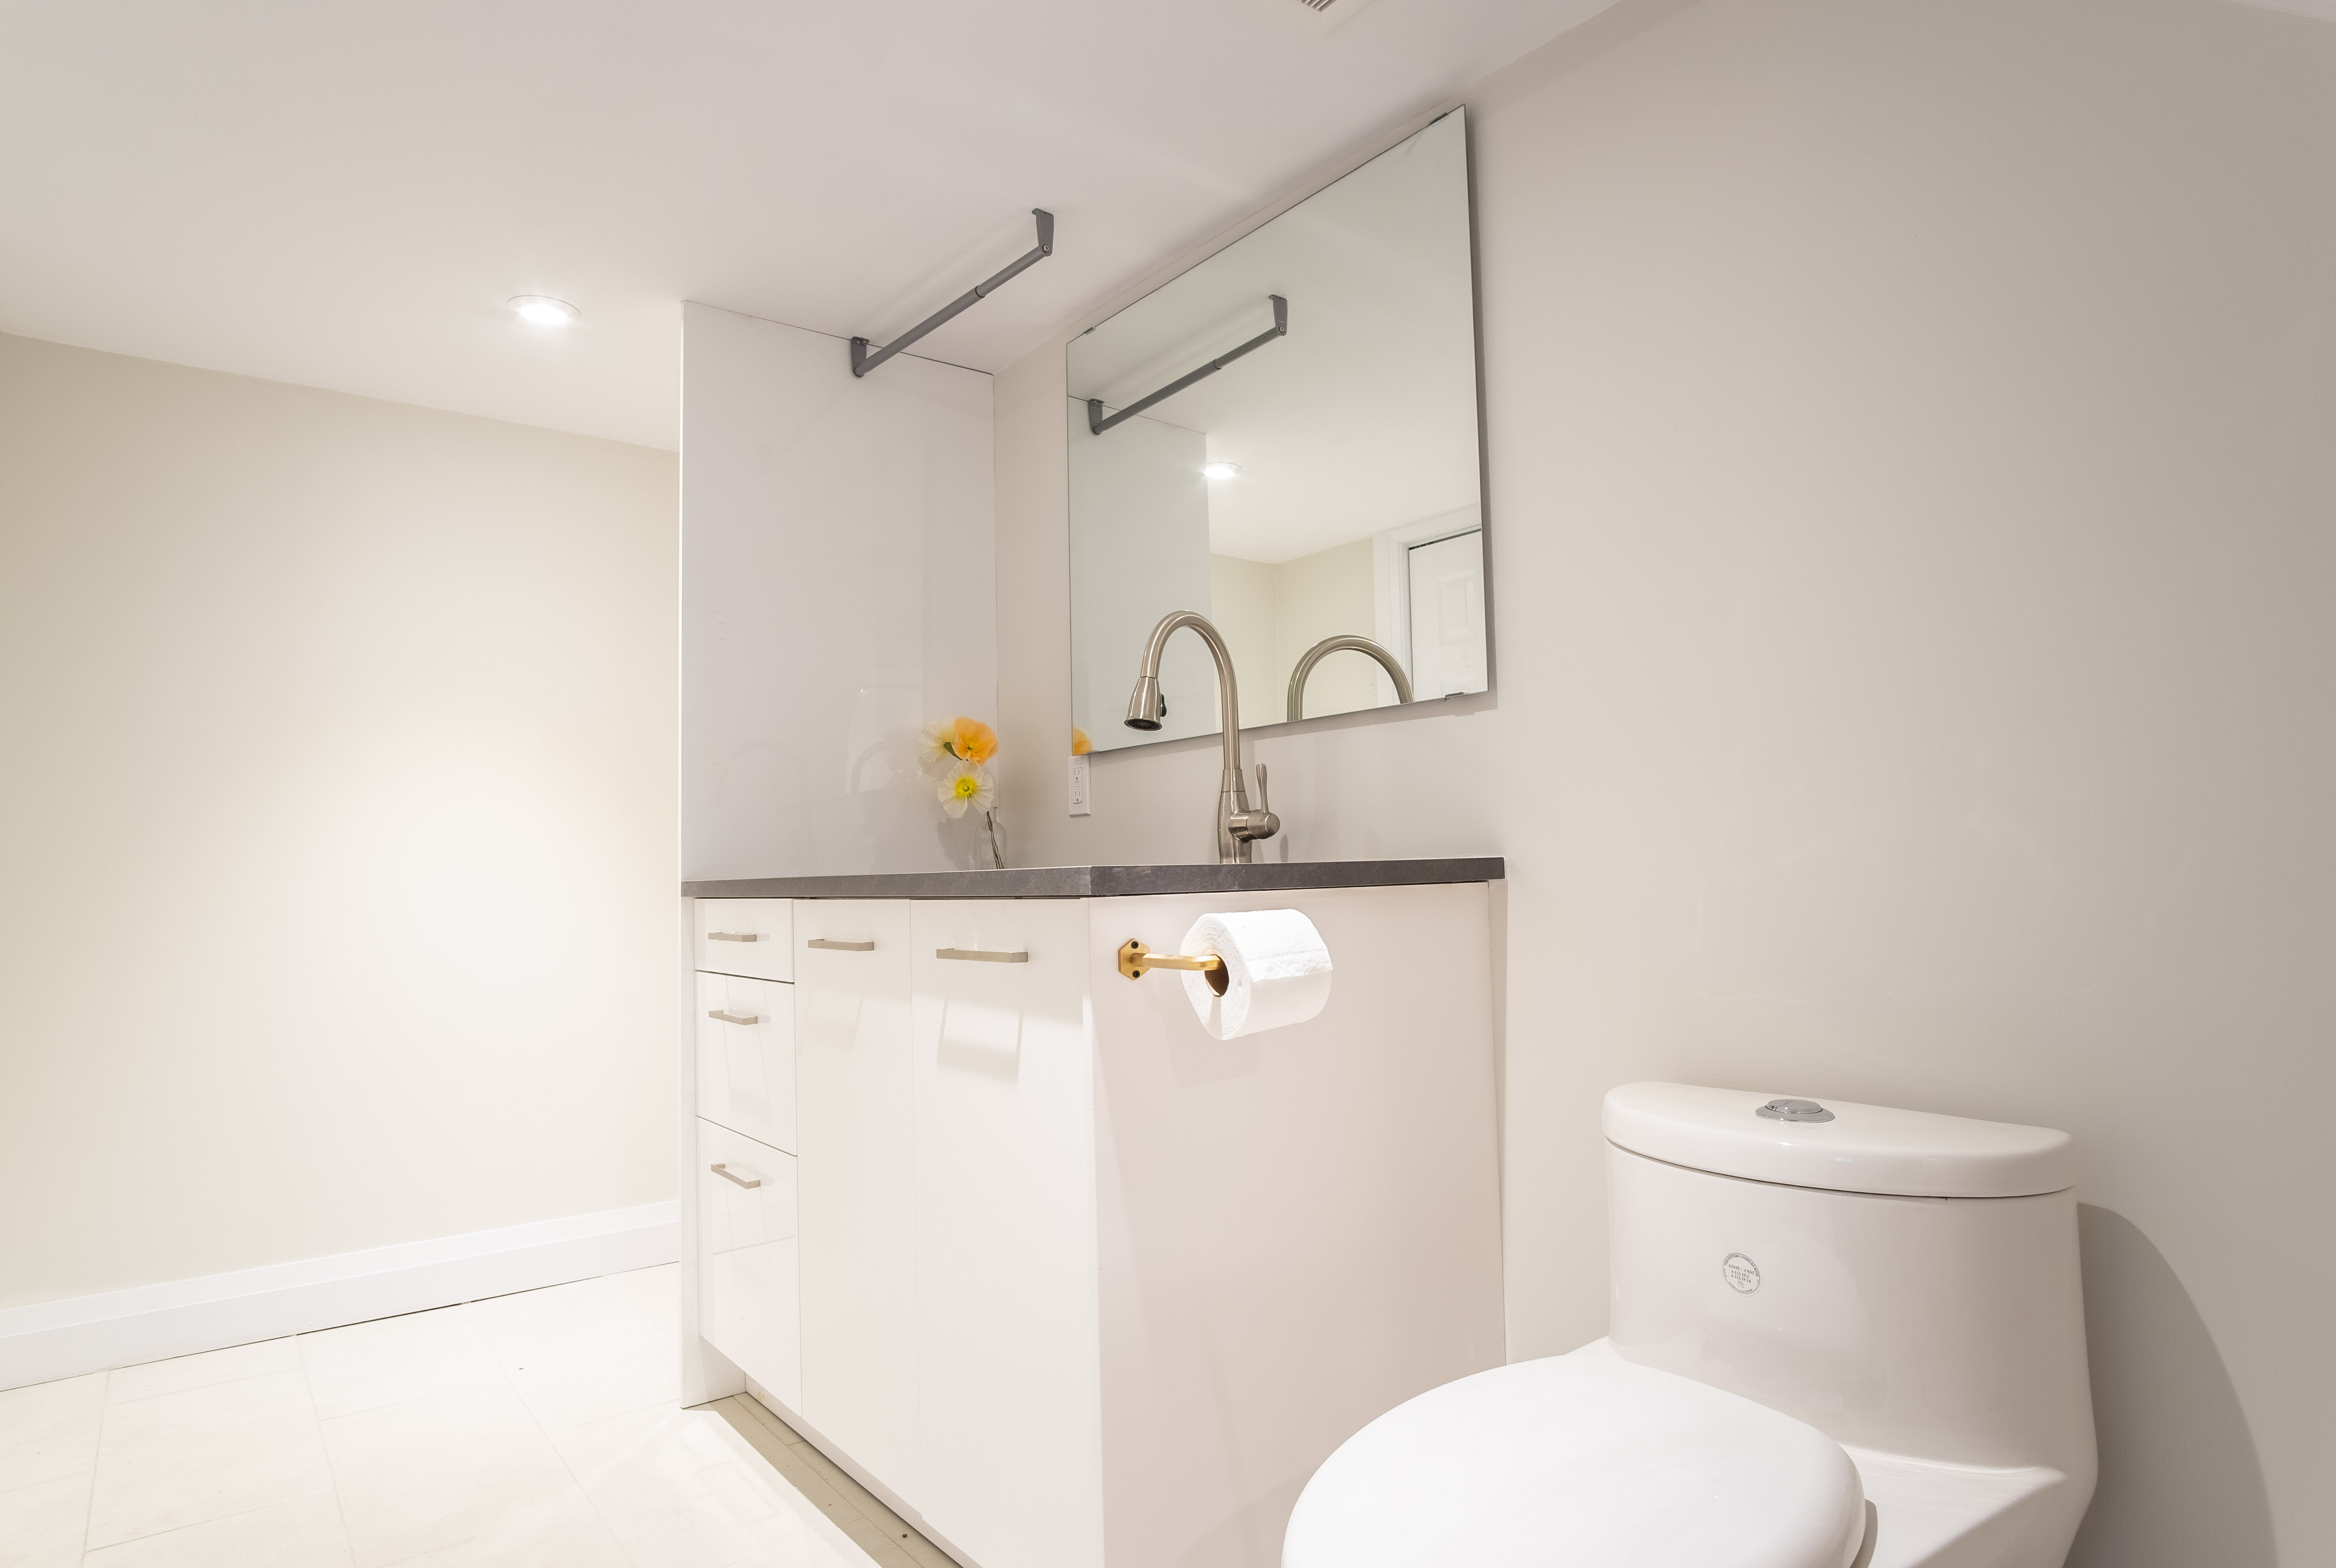
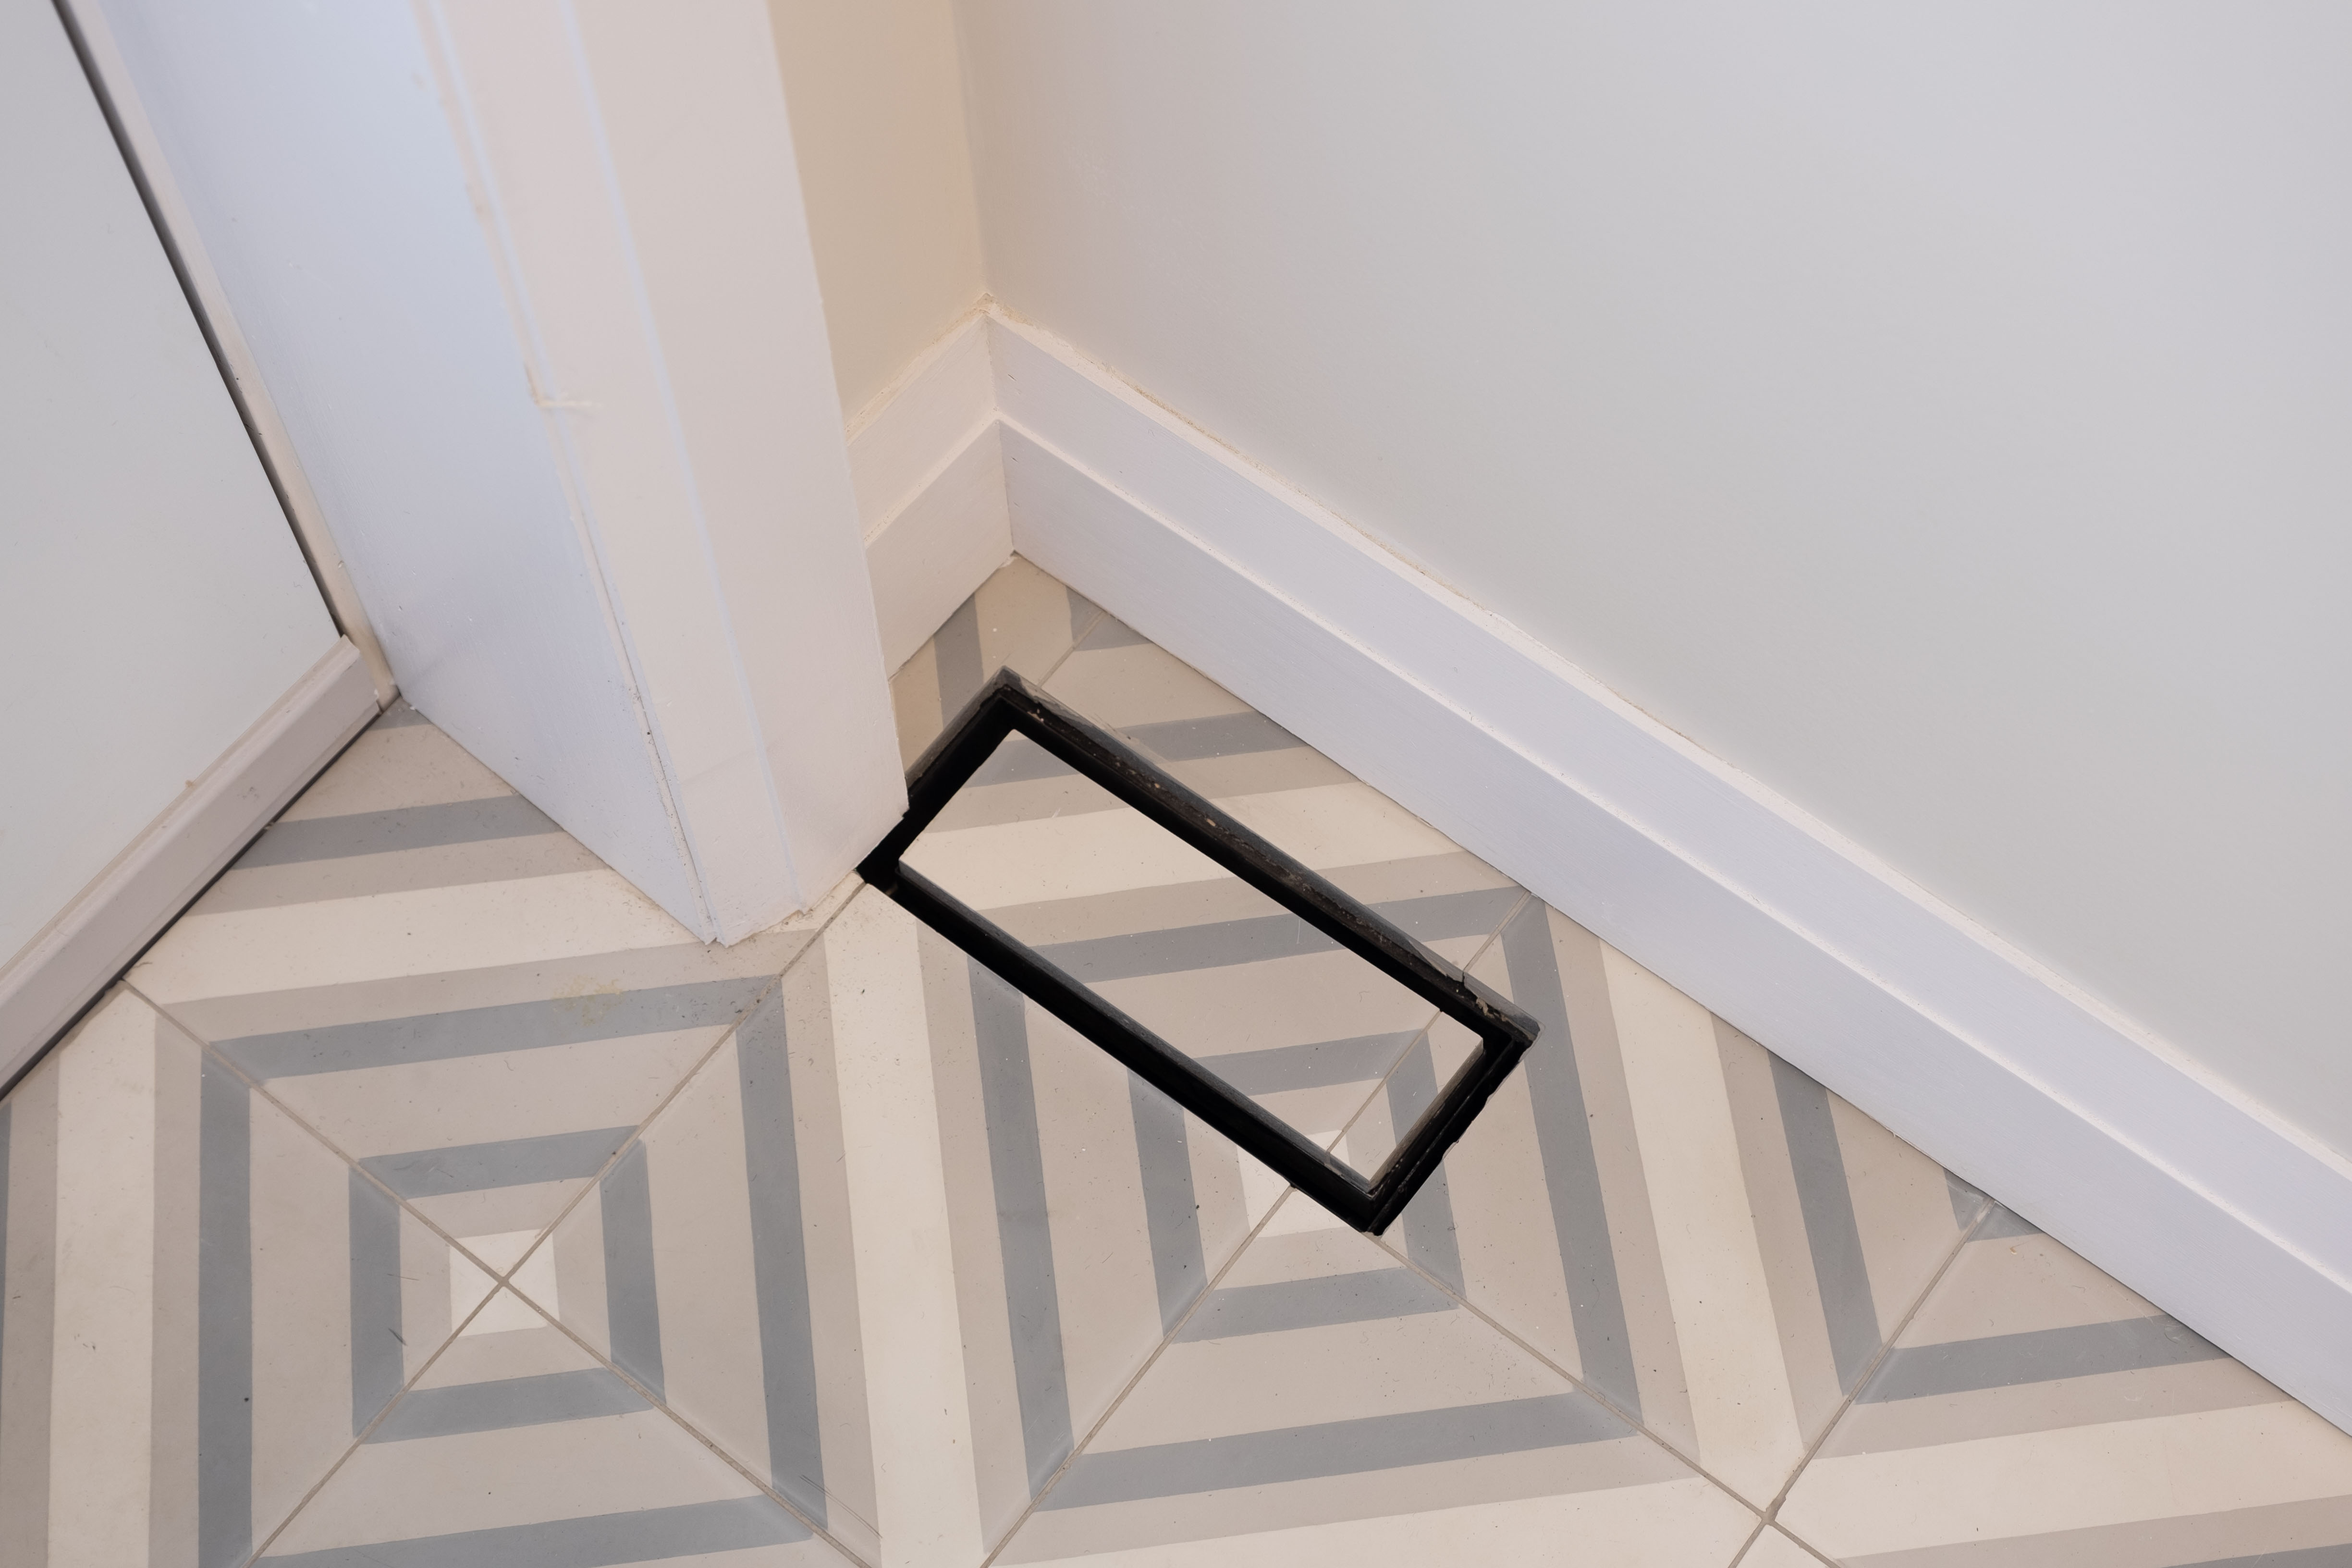
Unexpected Cost #2: This wasn’t going to work anymore, as the roof at the back is flat, and did not have an attic space.  The solution was to run the trunk lines inside the walls between the toilet and 3rd closet where the attic starts.  The changes this resulted in was not only revised drawings, but now getting a very expensive wall hung toilet.  This means the toilet tank is hidden within the walls which saves about 6” of space in the washroom.  The alternative was a standard toilet, but take away space from the closet which was an unacceptable solution.   For added energy efficiency, we have an HRV to reduce on the cooling bills in the summer. 


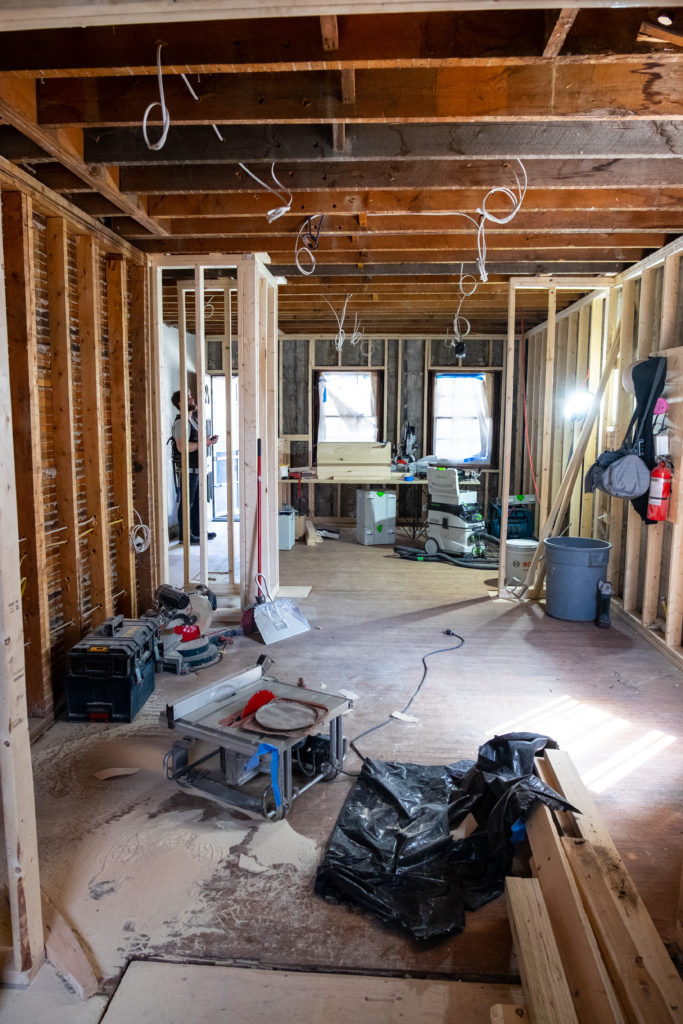
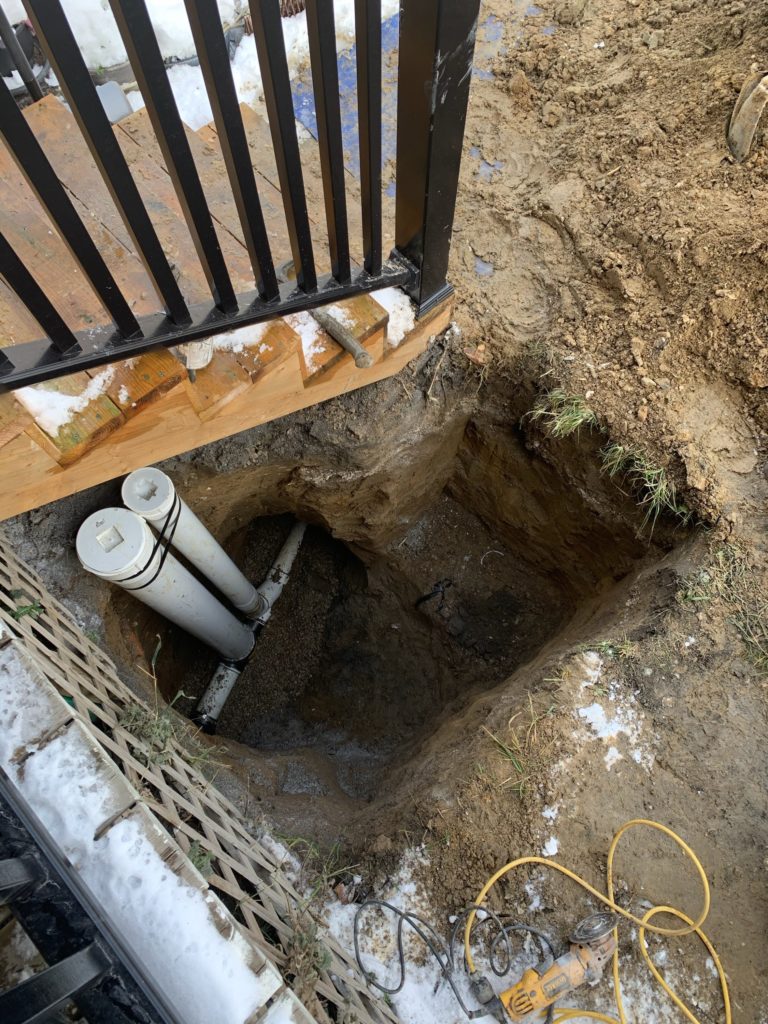
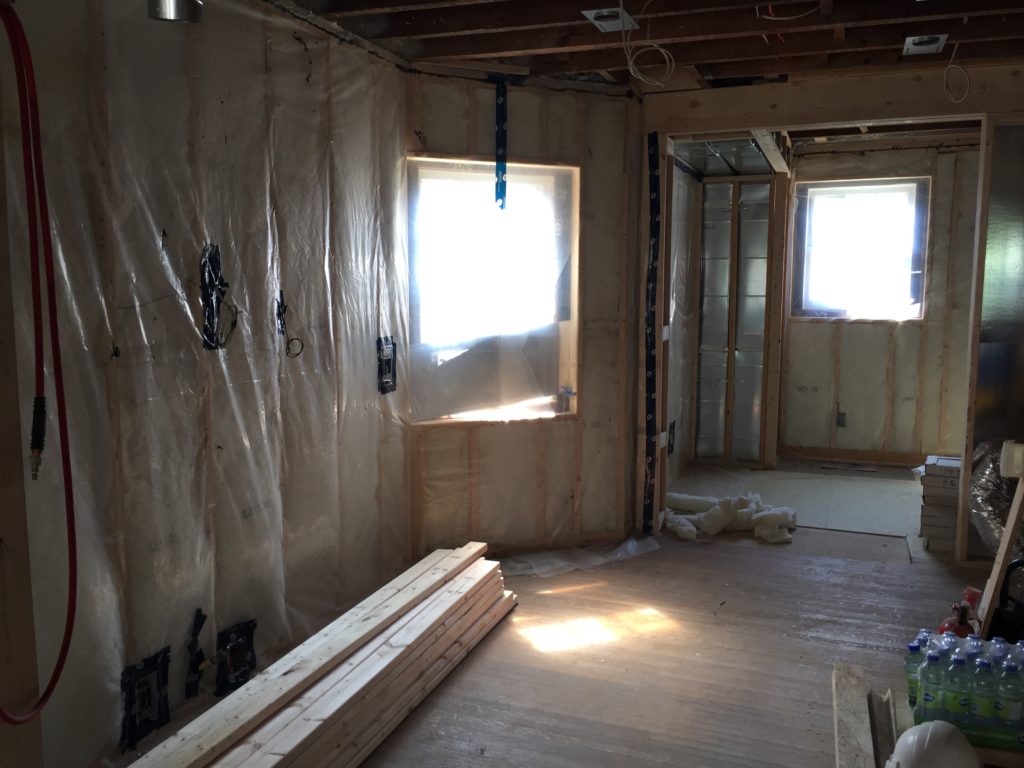
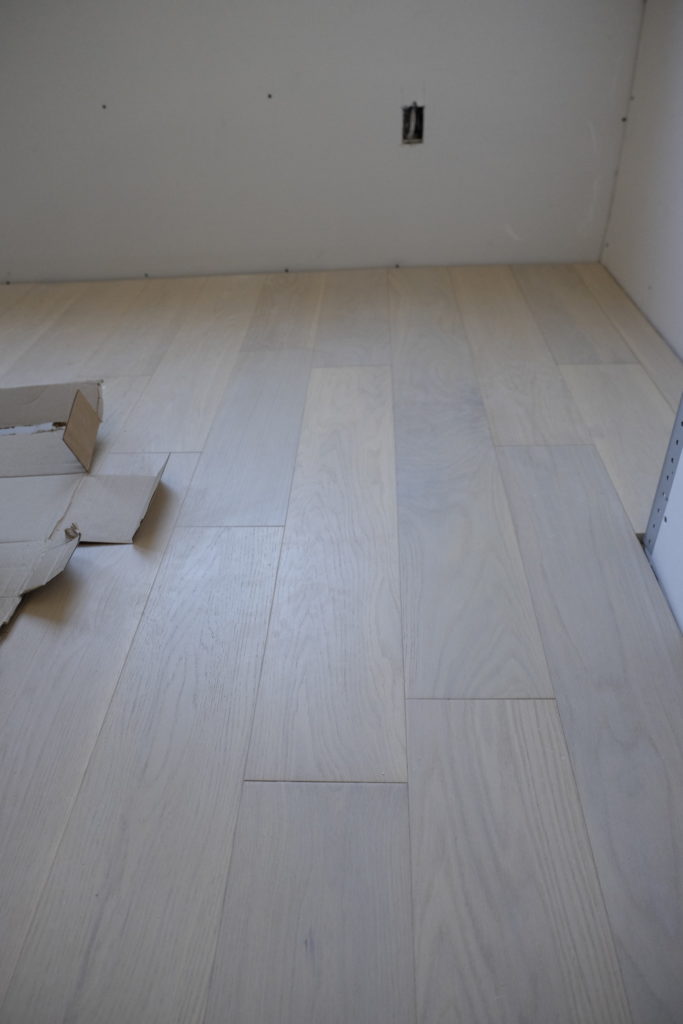
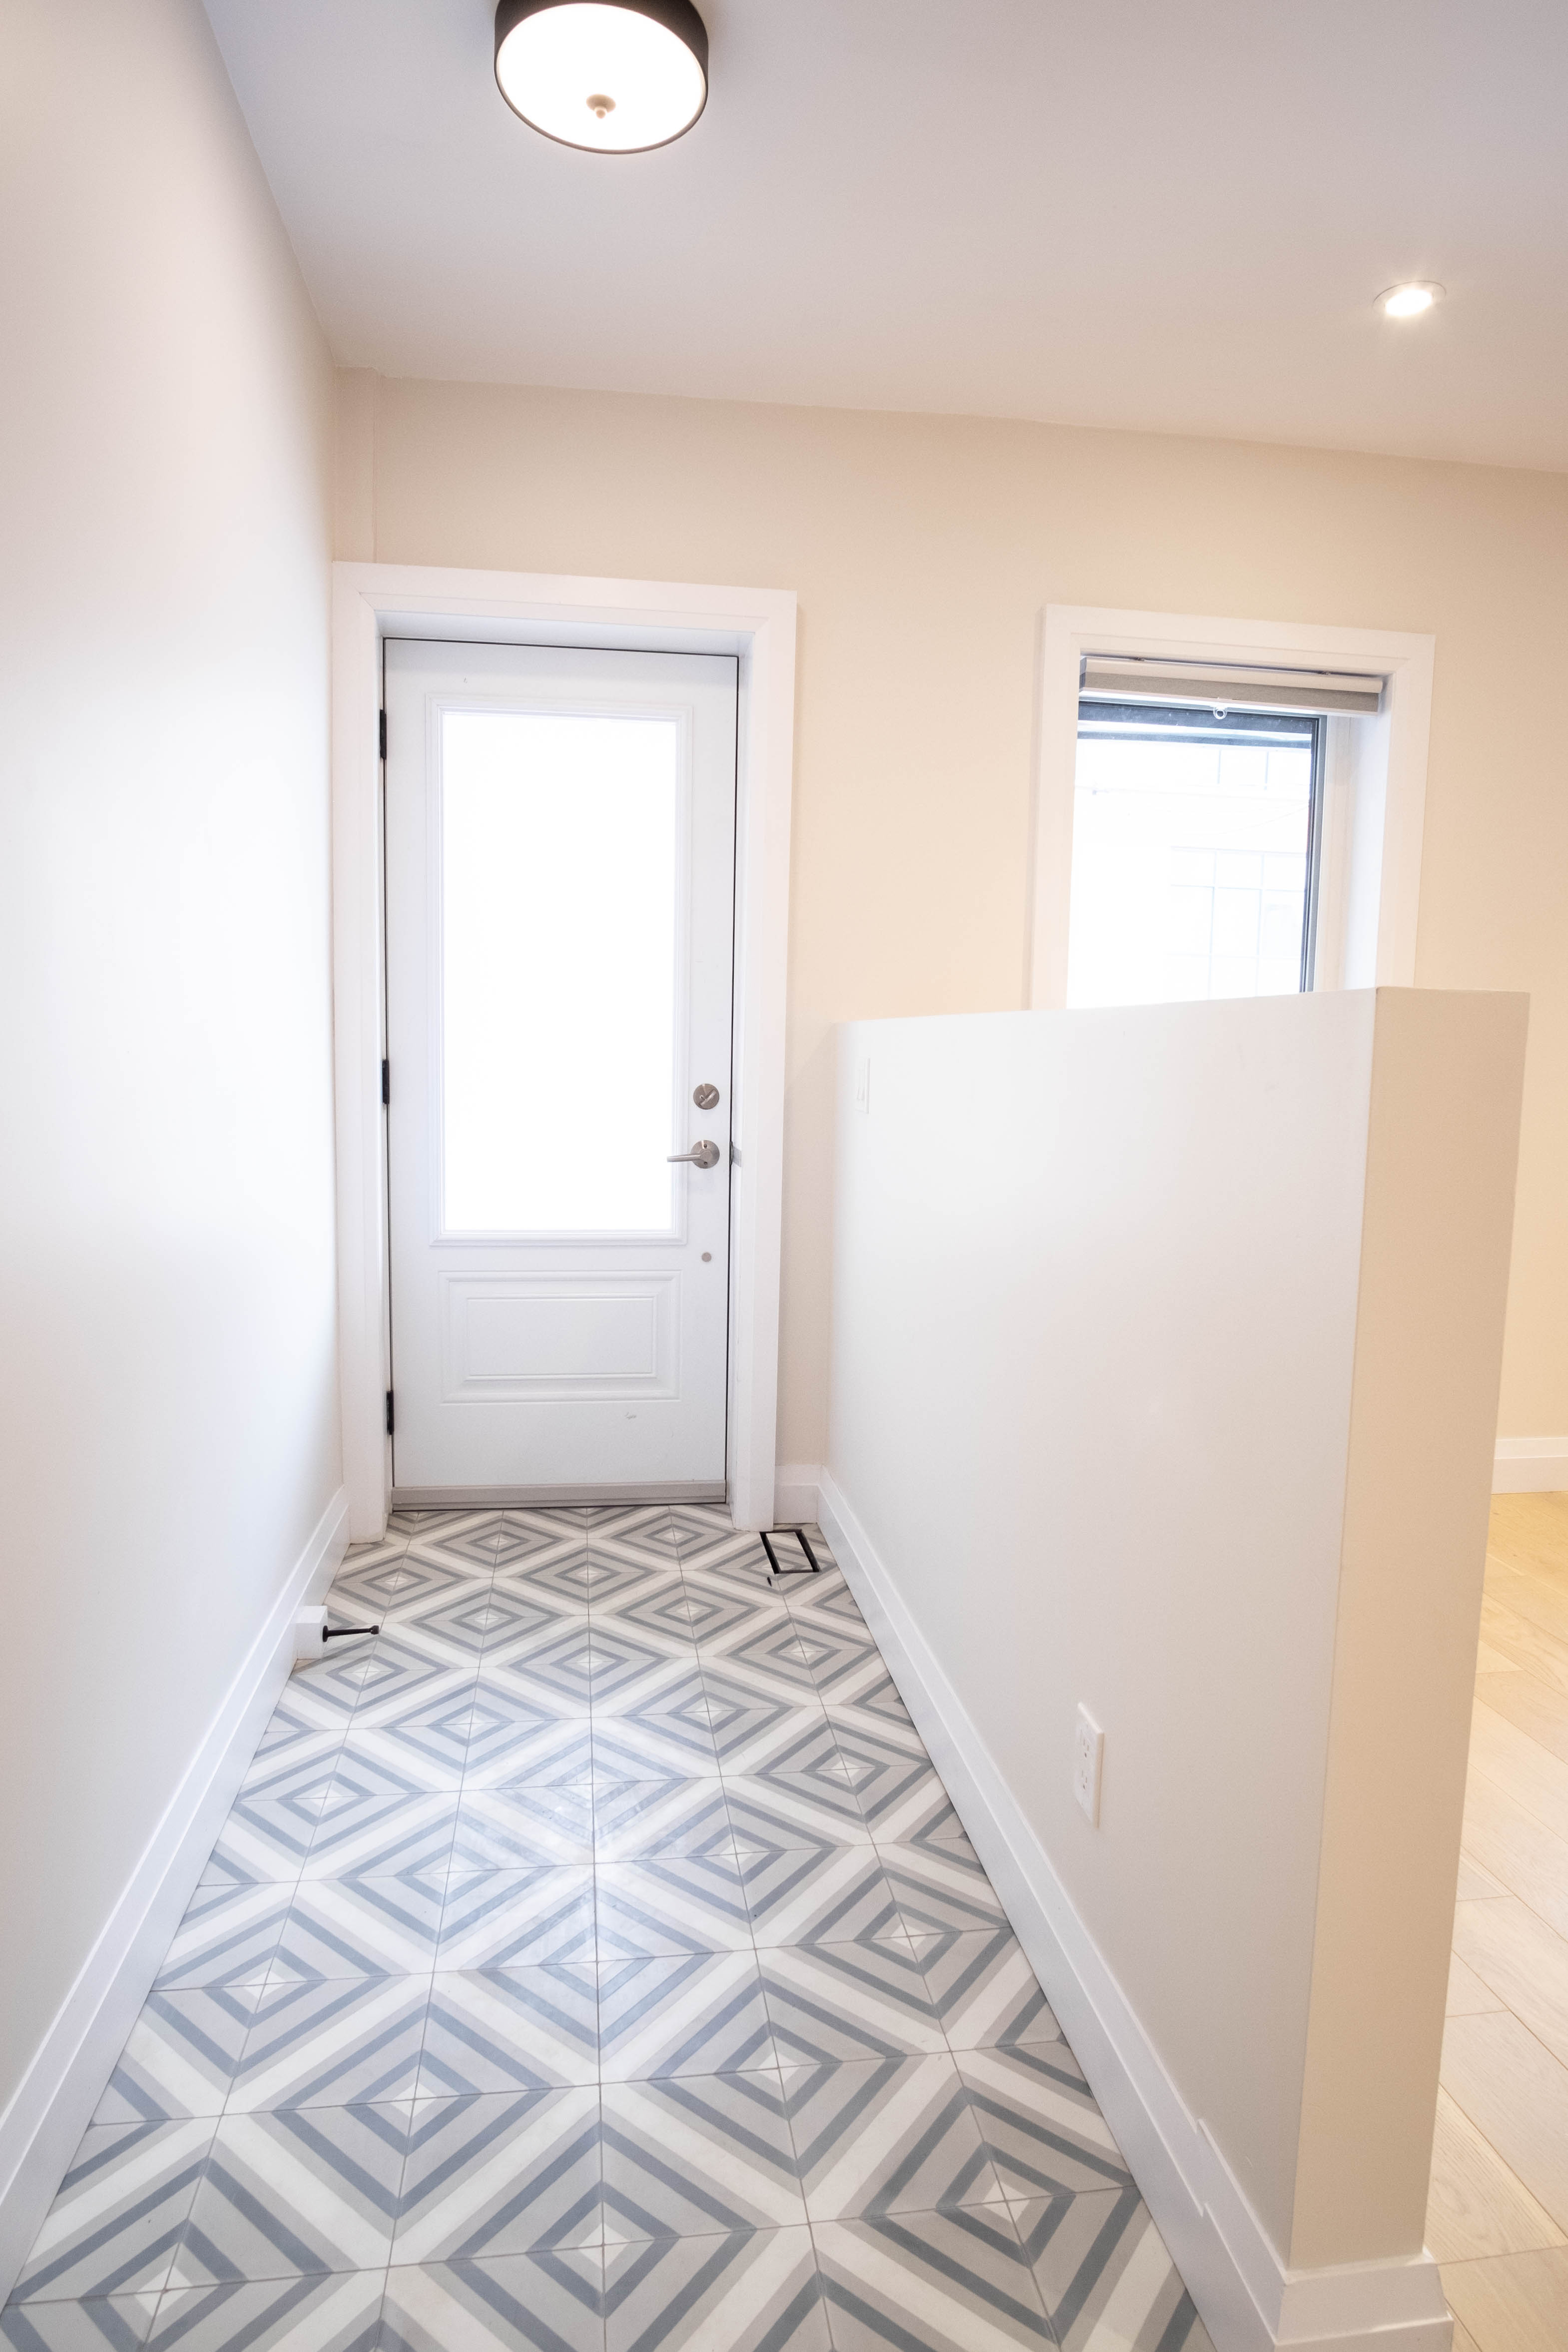
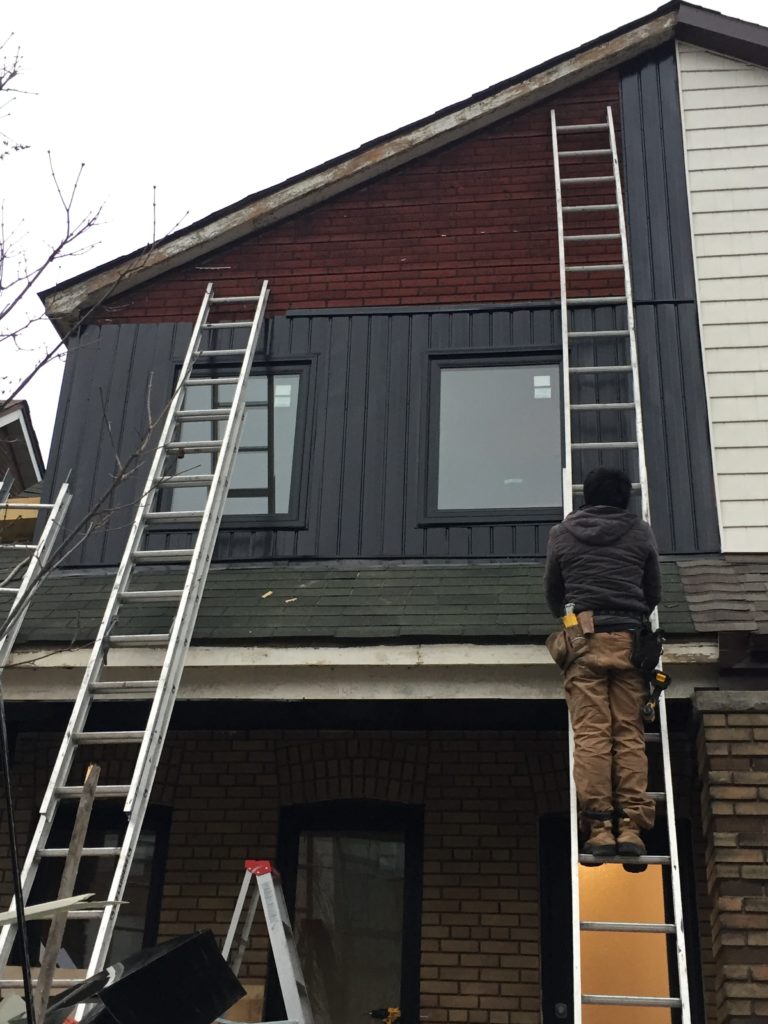
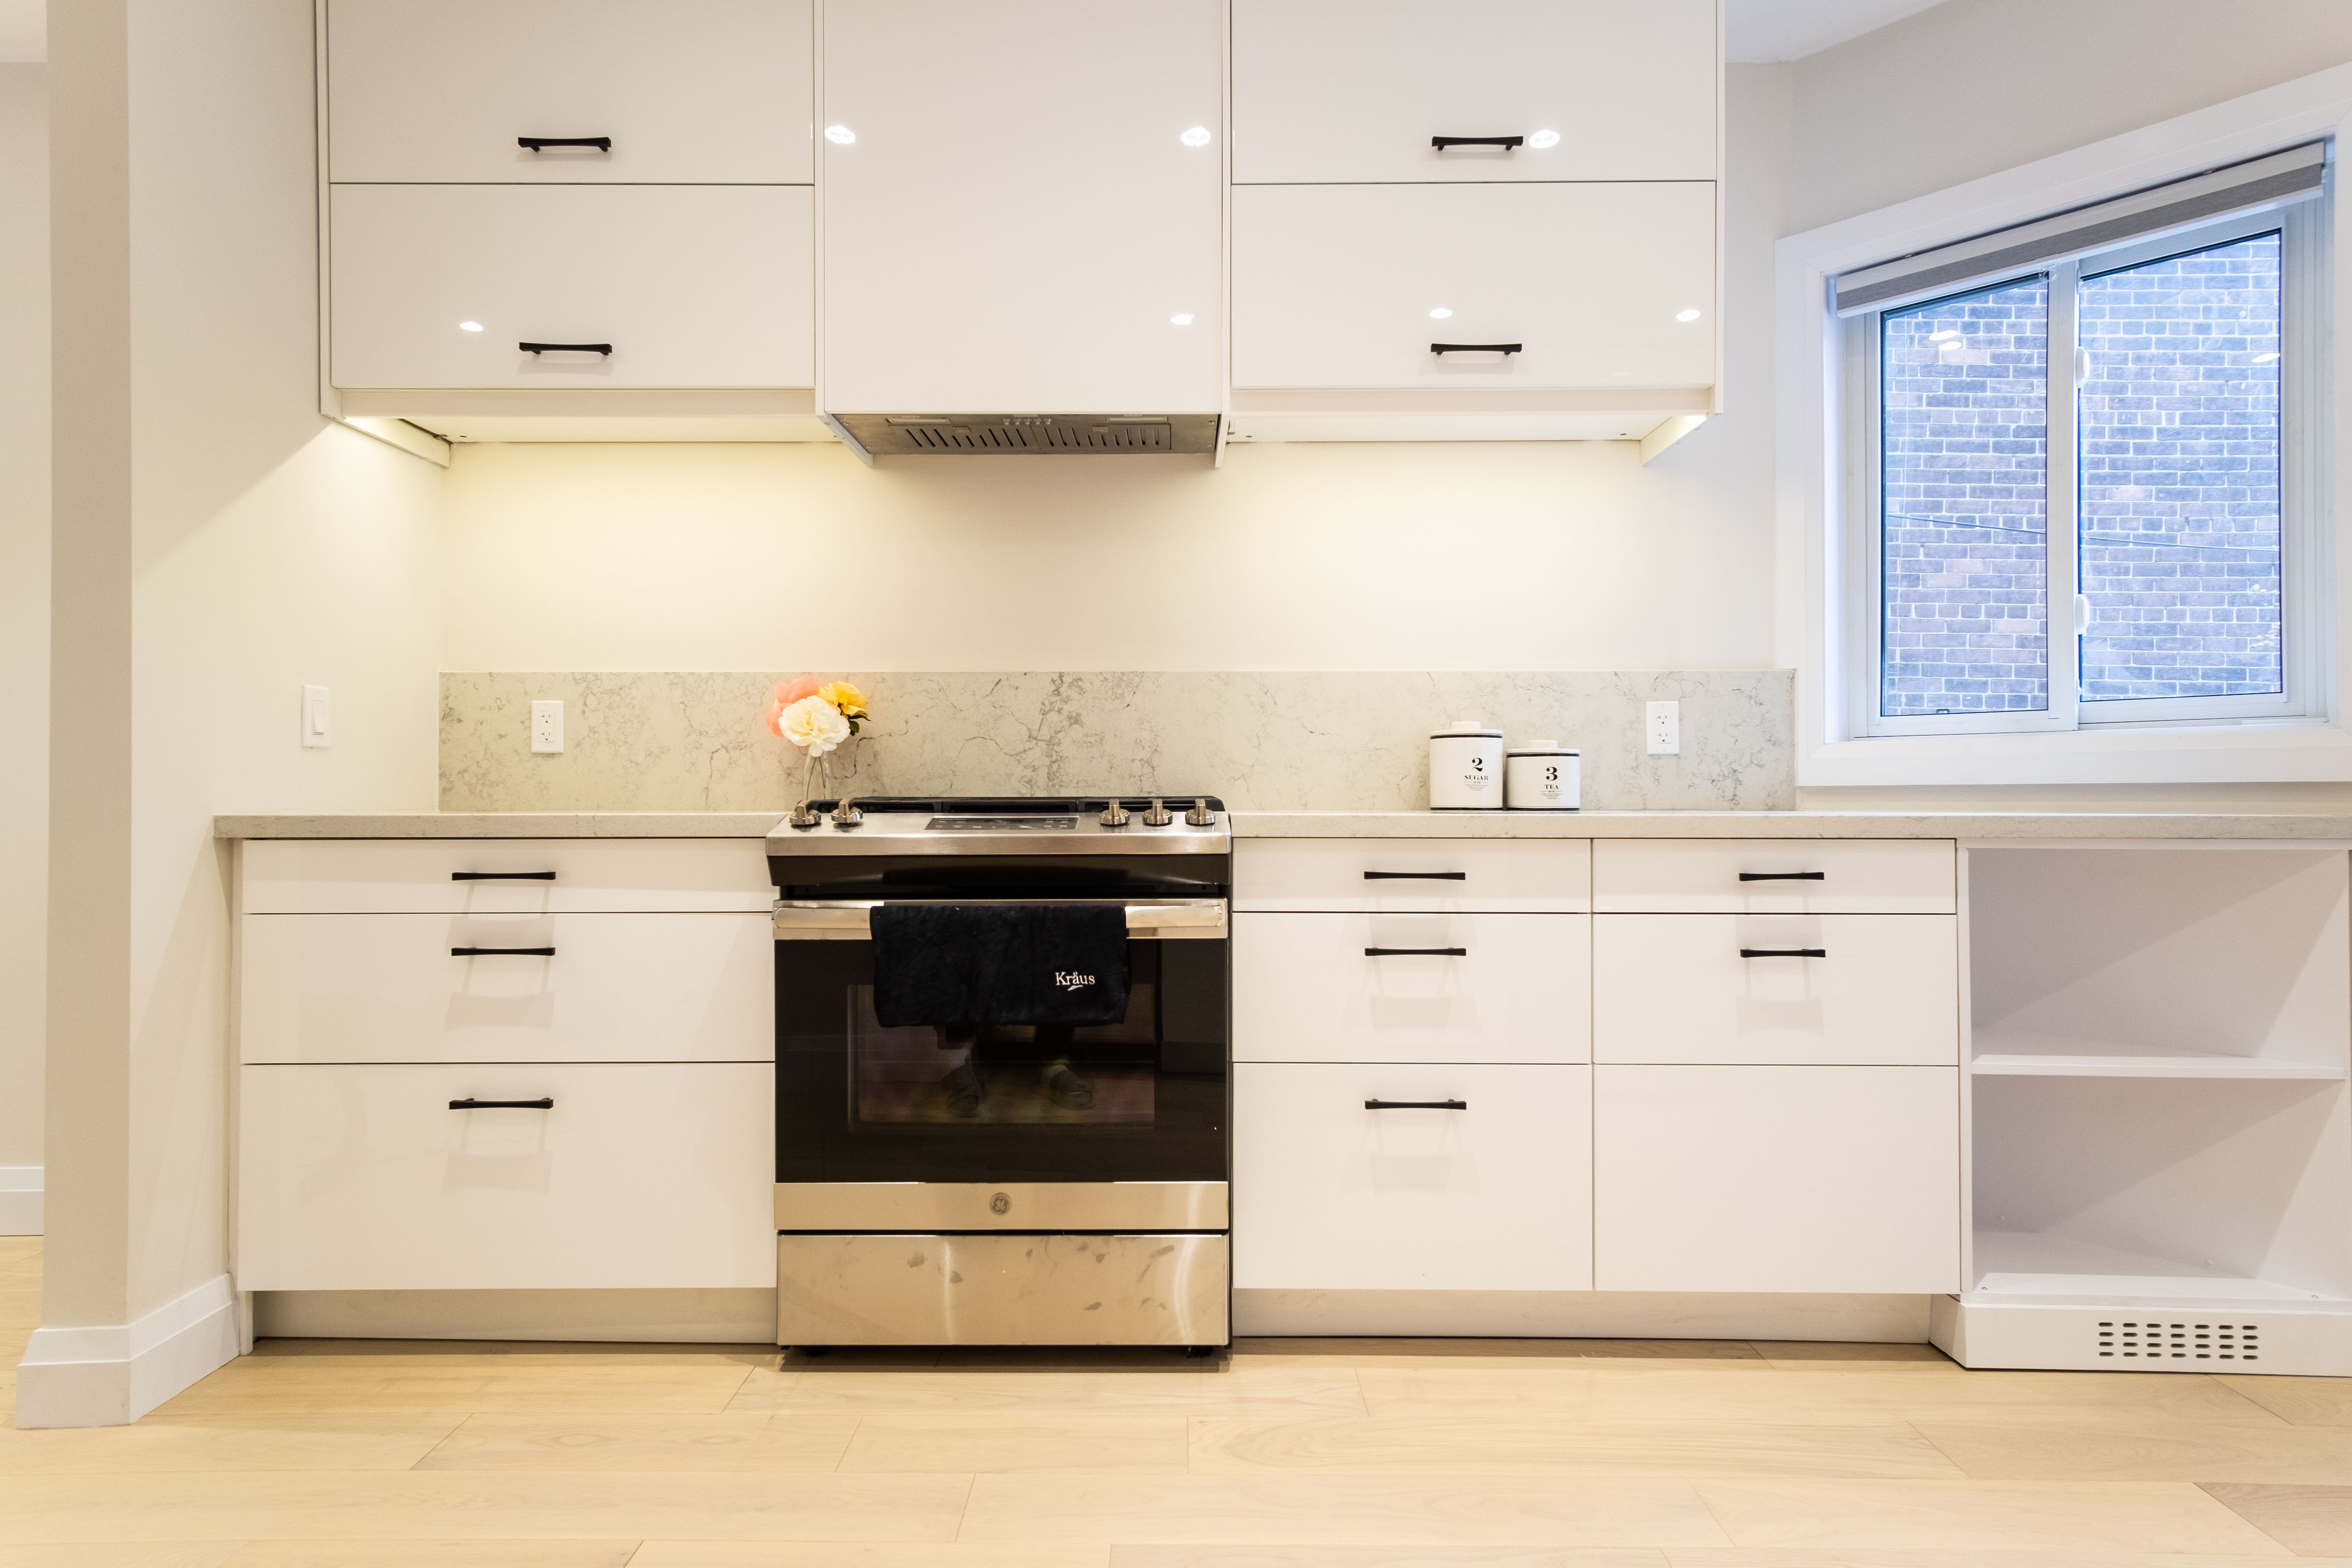
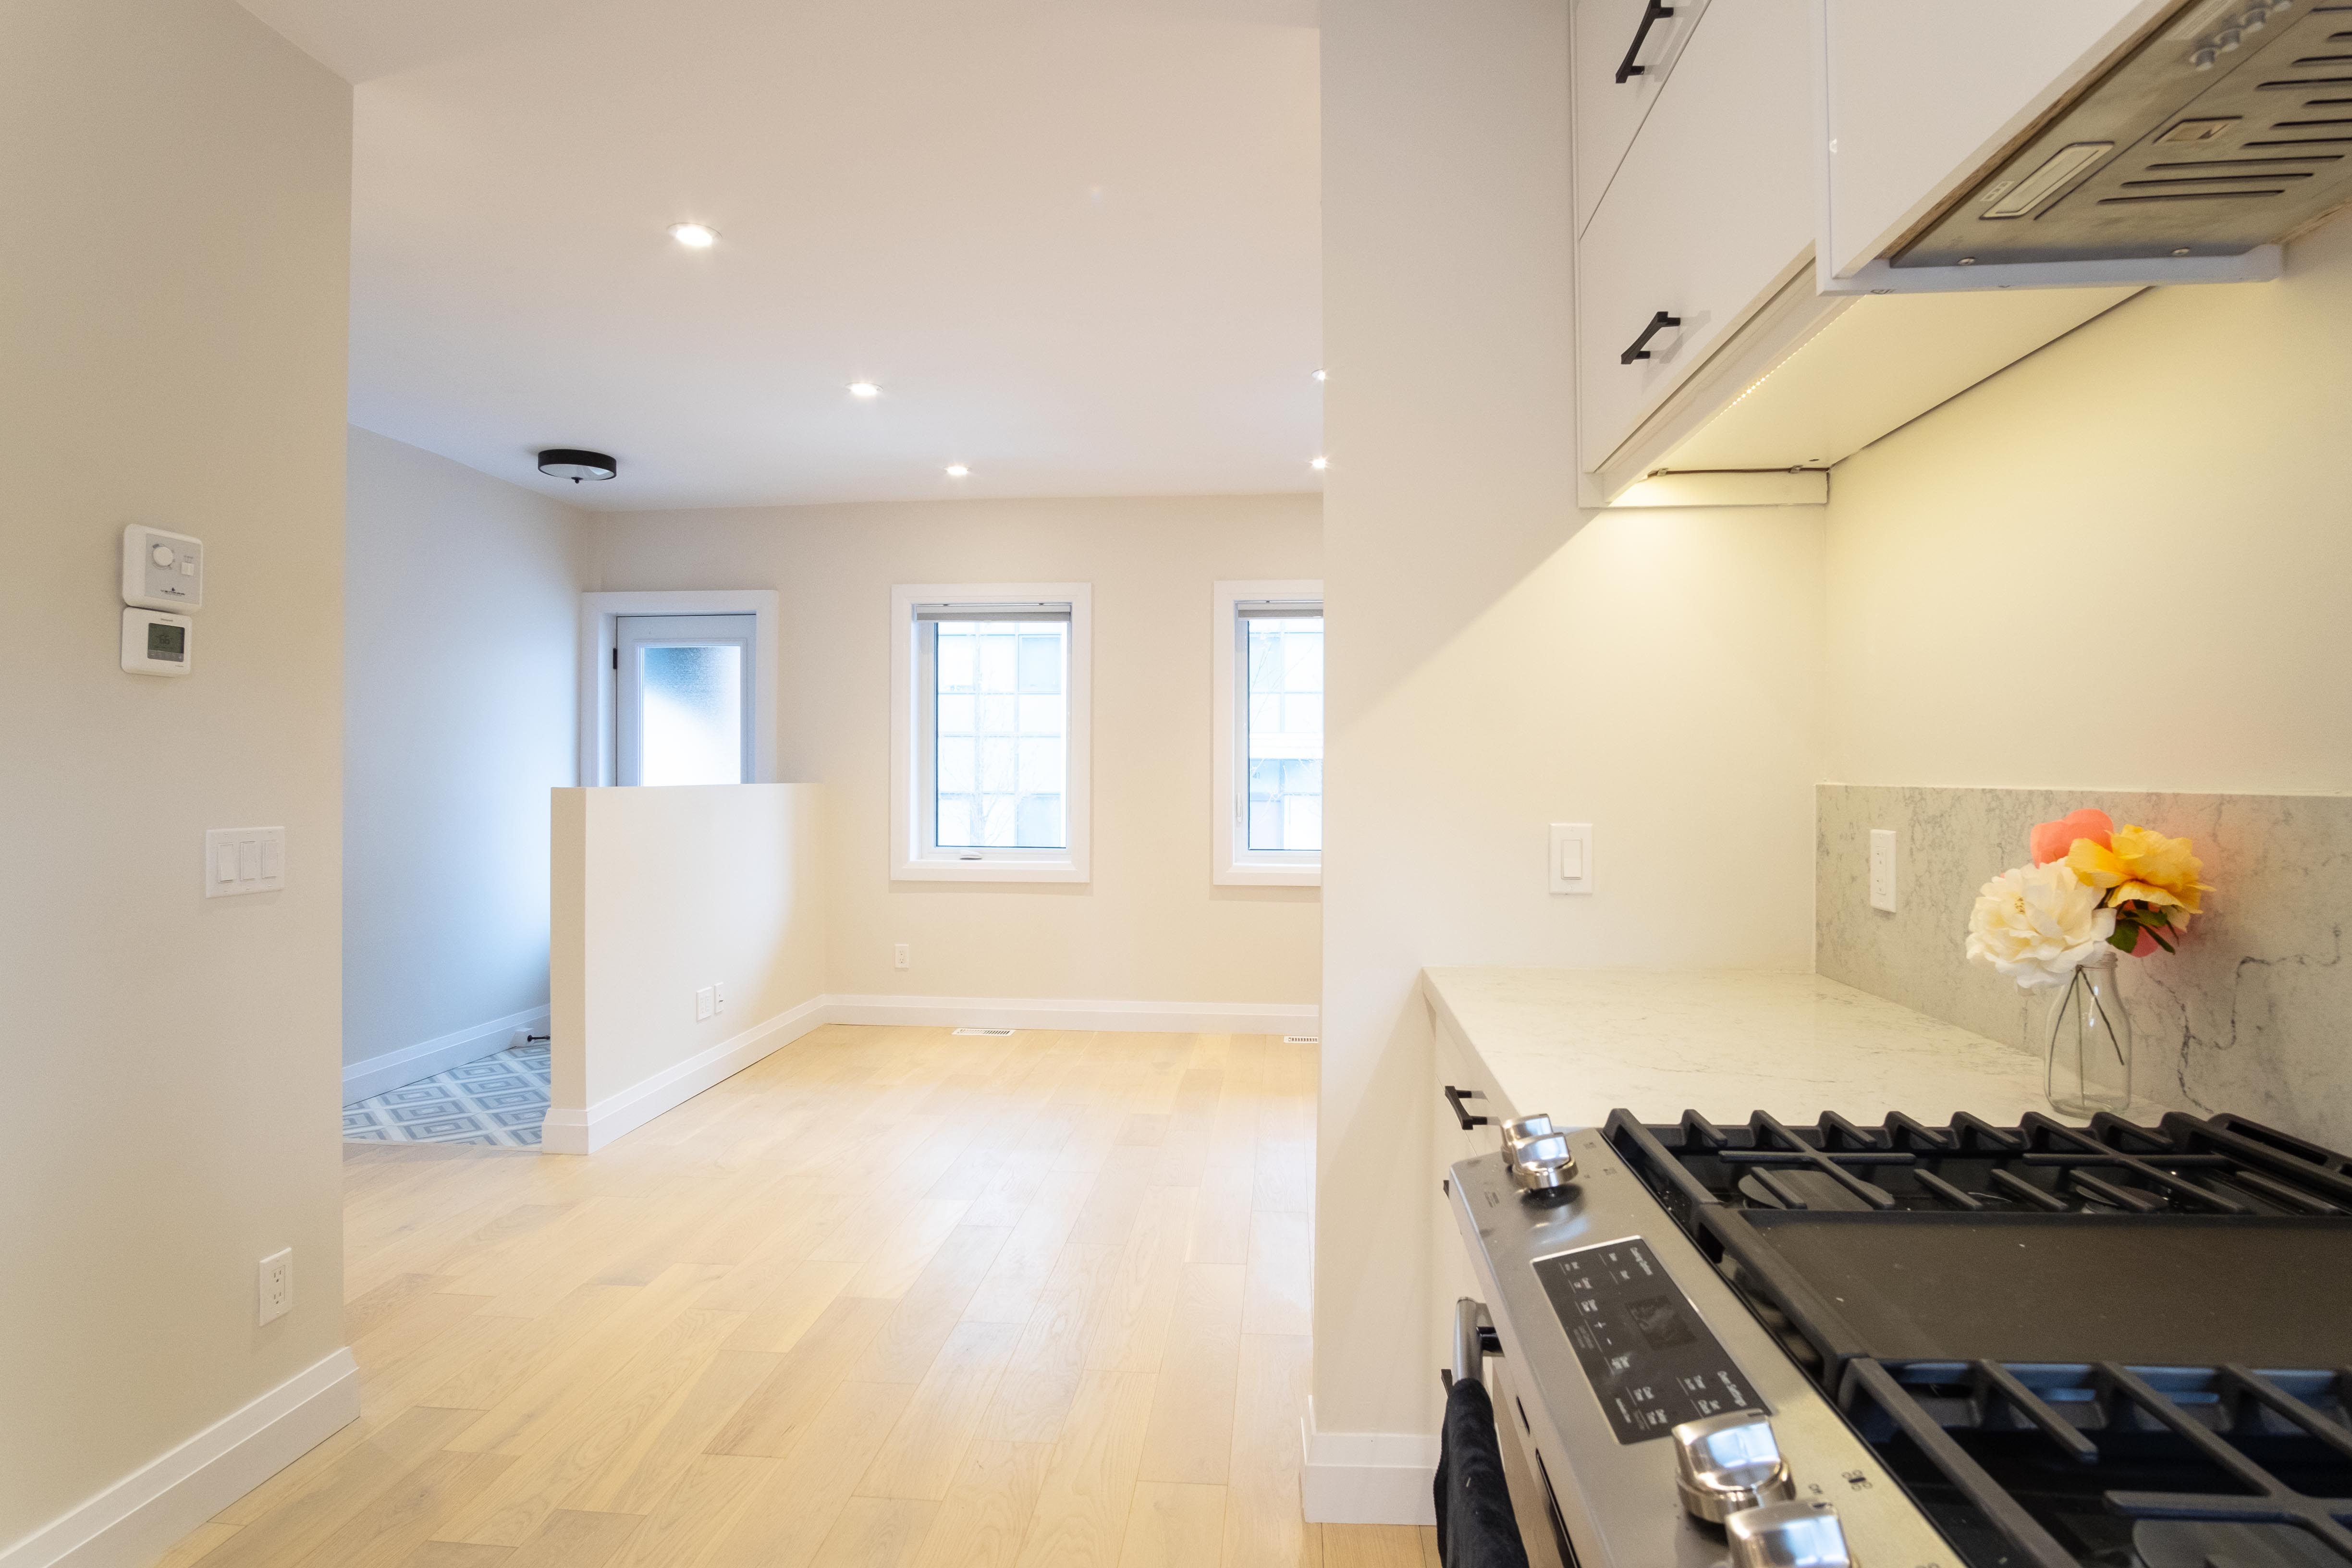
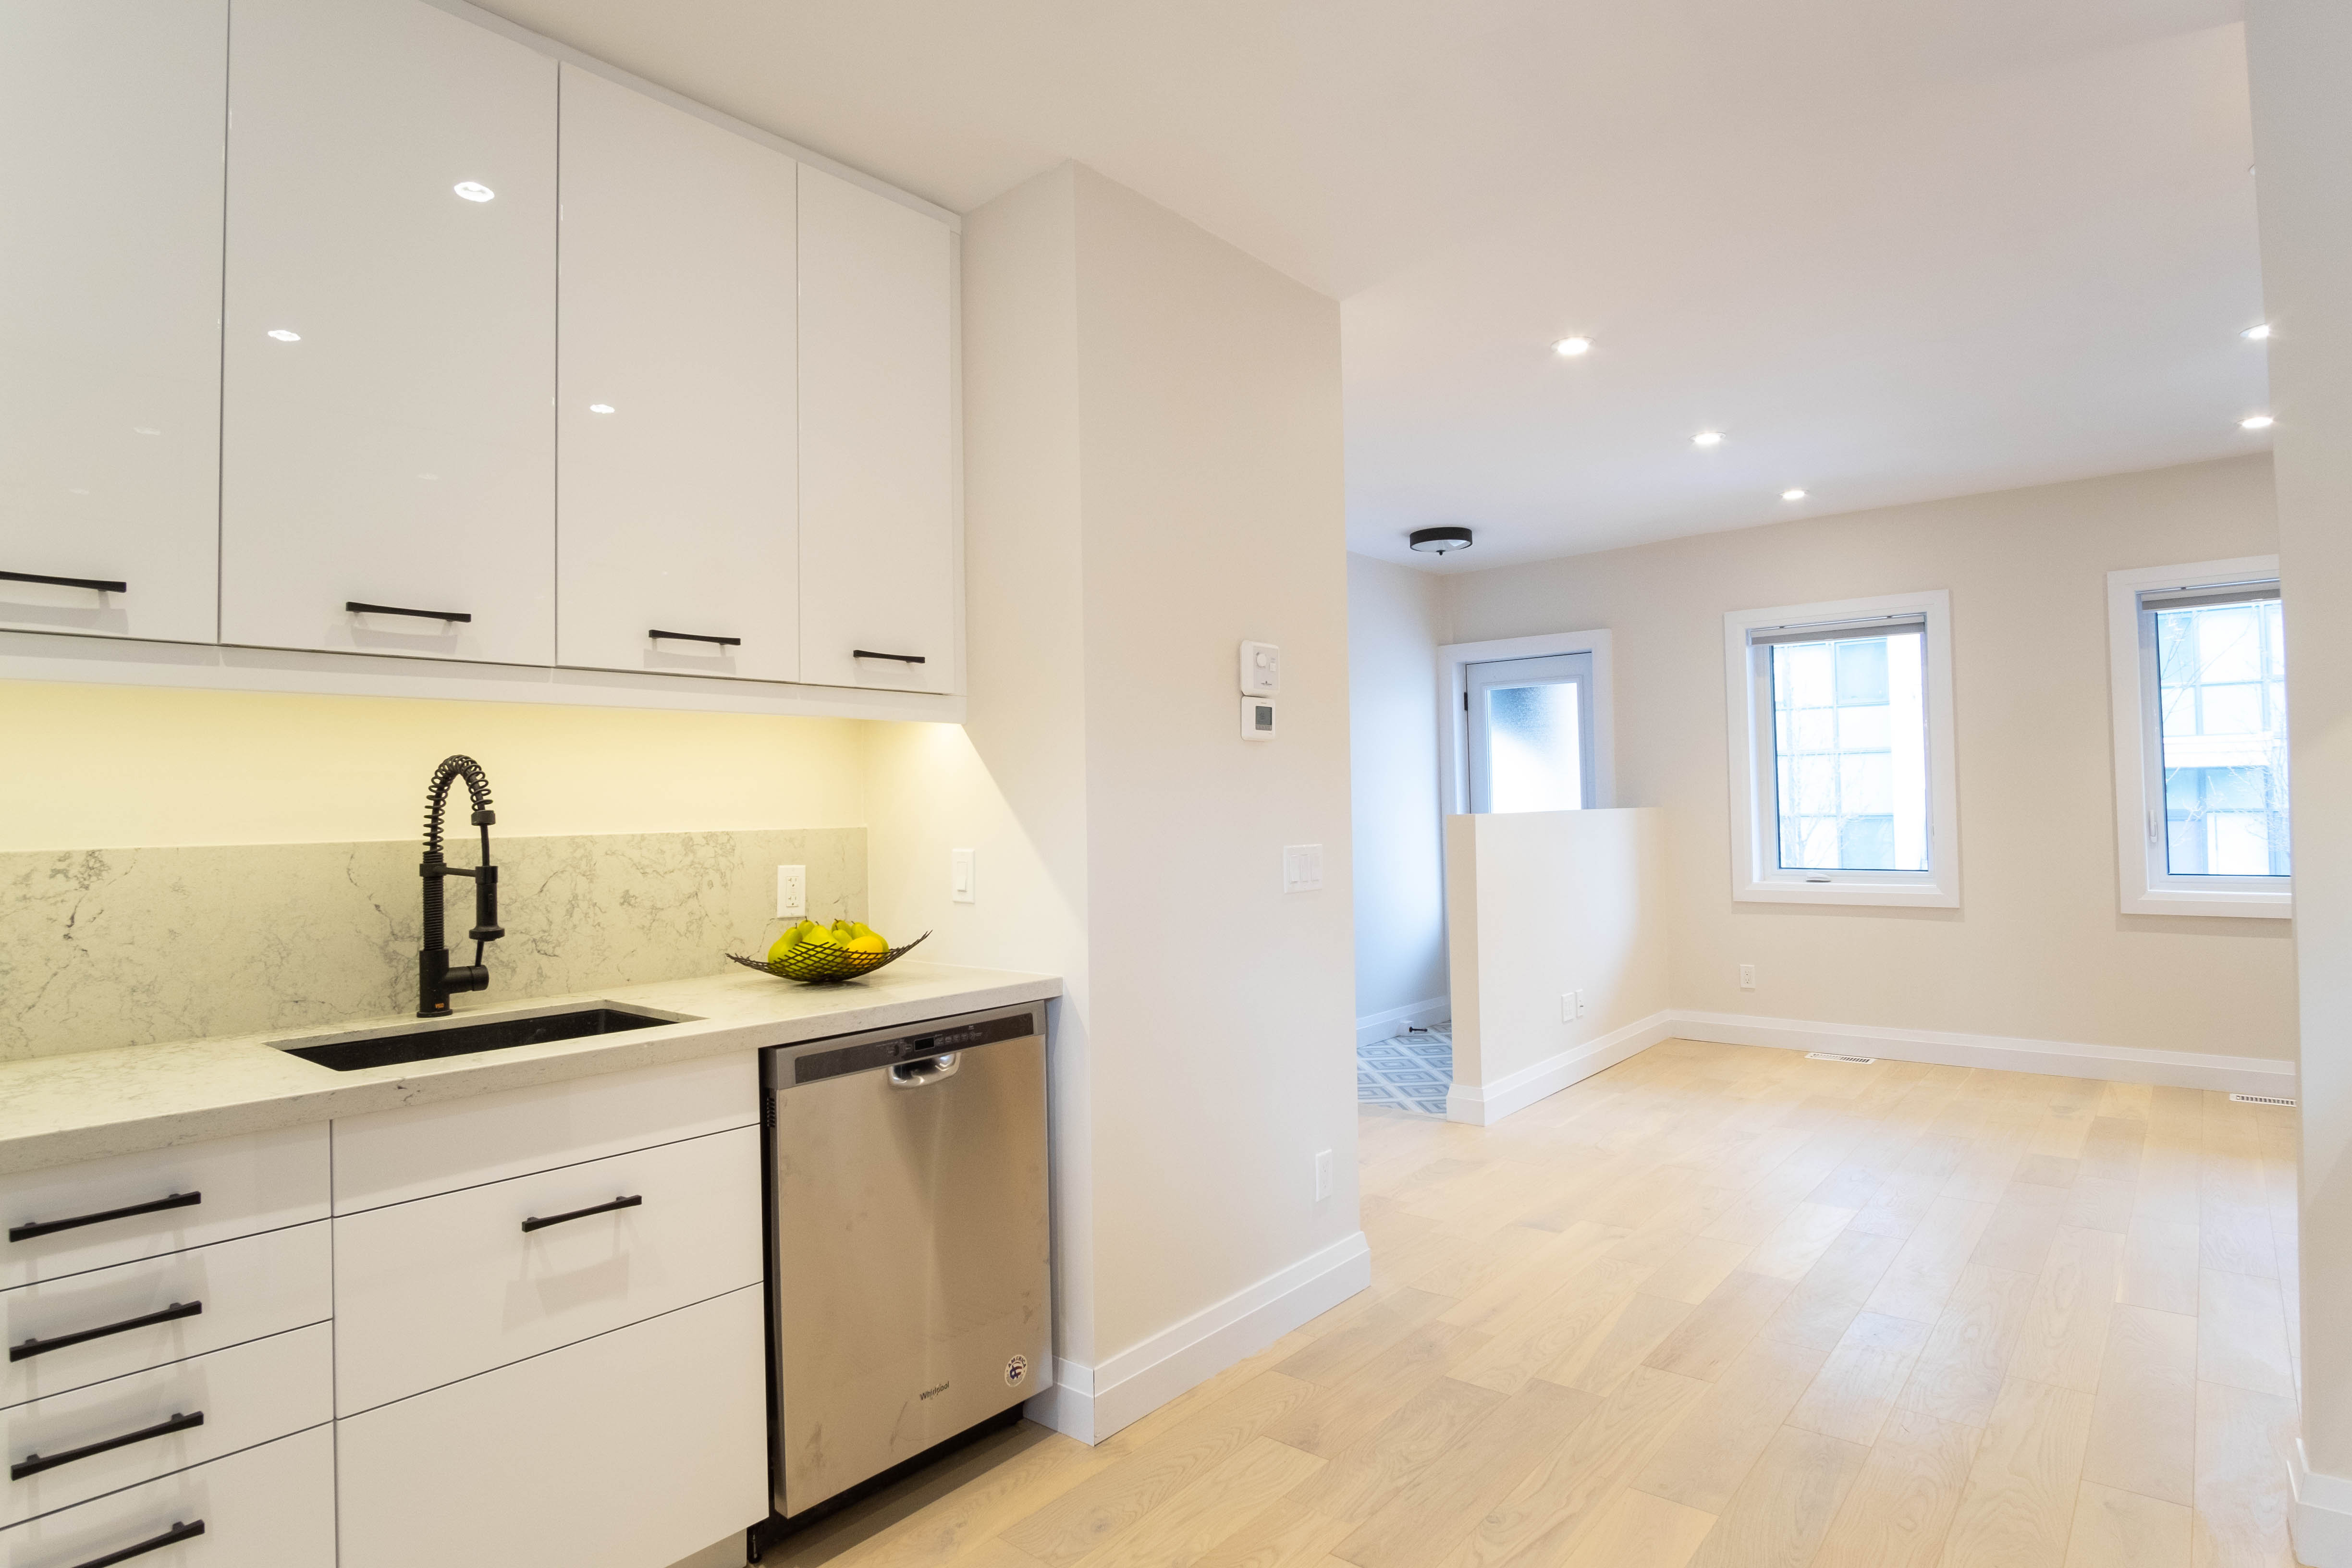
We were now ready to proceed, the following are some photos from this install.  

raymond-wong-toronto
Electrical lines for pot lights

Electrical rough-in went as planned.  New panel to go along with the new wiring throughout.  Pot lights wired, dedicated lines for appliances in place, Cat5 cables in the bedrooms and in two living room outlets.  All in all, a very uneventful install which is exactly how I wanted it. 

raymond-wong-toronto
Plumbing for basement bathroom

Plumbing was a big task.  Every room requiring plumbing has been moved.  Where the old bathroom was, we moved it to the back of the home, the new kitchen is now in the centre of the home.  The proposed basement bathroom and laundry does not have existing plumbing so that will all need to be dug in and roughed from scratch.  

Raymond-wong-toronto
Backflow valve install

A backflow valve was also installed. In old Toronto, the city’s sewers are commonly flooded by sudden storms. It’s not uncommon for these sewer lines to back up and flood basements with waste water. A backflow valve is a one-way valve that is connected to the main sewer line between your house and the city’s sewer. It allows water to leave, but not flow back. I strongly recommend installing one as it protects your investment and the city offers a rebate to offset most of the cost.

Happy to say plumbing was another uneventful install.   Even happier to say at this point we had the rough-ins inspected and passed.

toronto-raymond-wong
Insulation and vapour barrier

Insulation consisted of R12 batt insulation between the studs on all the exterior walls along with R50 blow-in insulation in the attic. Spray insulation was used around the ducts in the attic to keep our treated air from heating or cooling. Vapour barrier then covered up the insulation before drywall. Again, another uneventful stage completed. This home originally had next to no insulation between the walls, and about 3” of insulation in the attic only.

Drywall second floor hallway

Unexpected Cost #3: Drywall contractor goes missing. He does not show up at the job site for an entire month. Says he and his crew will be there on the following Monday, but never shows. He’s later replaced but the month has been lost along with all the costs incurred with carrying the home another month. There is always a horror story involving contractors in every major home renovation, and this was it. Once that drywall was hung, it really started to feel like a home again.

Devine Intervention

Raymond-wong-toronto
raymond-wong

Unexpected Cost #4: before I begin with finishes, it’s worth mentioning the tree in the backyard that had cast a shadow on the home in the evenings. It was a huge tree I estimate to be over 40’ high and a trunk diameter over 20”. This tree cannot be legally removed, it’s protected by the city. Unless it’s at risk of falling or endangering the immediate homes, it would have to stay. Fortunately, a windstorm hit and split this tree in half down the main trunk. Half had fallen over and the other half remained up. I was immediately granted an exemption from the by-law protecting the tree and was told to cut it down. I was more than happy to comply, as now my lighting problem for the house would be solved. The other half would end up falling before the arborists could start the removal job.  Because of it’s size, it would cost thousands to cut down and remove, along with grinding the stump. Money well spent.

Finishings

Now onto the finishings. All new windows and doors. Black trim windows and doors for a modern and sleek look. All Energy Star rated as this qualifies for rebates plus it helps save on heating and cooling costs. Front door and back door incorporates a lot more glass now to allow for more lighting which made a very noticeable difference.

raymond-wong
Light oak 6" plank

The flooring the designer suggested is a light oak, wide plank 6”, engineered hardwood.  This was used throughout the home.  The light finish helped brighten the rooms.  

Our tiler is also on-site at this stage. The designer settled on a concrete tile that has a beautiful pattern for the front foyer. It’s higher maintenance as it needs to be sealed several times before being laid, but the finished product is well worth it. We spent a little more to upgrade the vent cover as it’s a high traffic area. Love the finish.

raymond-wong
Second floor bathroom

Upstairs bath was tiled with a hexagon tile from CIOT and extended subway tiles laid in a herringbone pattern for a higher end finish along the shower wall. That pattern is extended along the west wall that’s highly visible from the stairway up and for anyone walking in the upstairs hall. Again, an extra expense to lay herringbone, which requires a lot more time for cutting and placement but well worth it once completed. Also splurged on custom vent covers here too.

raymond-wong
Basement shower

Basement tiles were more straightforward. Simple brick pattern on the floor and a straight lay for the shower stall.  Bronze Champagne hardware was used to contrast the white tiles.

A solid oak vanity with marble countertop was delivered for the upstairs bath. It came with silver handle pulls, which was changed out for bronze handle pulls to match the bronze faucet and shower kit we had purchased. All hardware in this washroom is bronze, a finish I currently love.  I have an old photo of what used to be in this space, a kitchen!

The kitchen assembly took place over several days. Fairly uneventful install until it became obvious that our planned fridge was not a product manufacturers made. Plan we as to buy a 30” counter-depth fridge to fit tightly, without protruding out too far when viewed from the side. What nobody knew at the time was that counter-depth was not available for 30” fridges! Solution was to pull out a few inches the immediate cabinets surrounding the fridge. We now had the depth to fit in a full sized 30” fridge without it sticking out several inches.

Kitchen details

Beautiful Caesarstone was purchased for the countertop and continued up as backsplash. Looks stunning with the black sink undermount sink and black faucet.

New siding and all things aluminum

New gutters, downspouts, fascia, and siding was done all in black to match our windows. Gutters are now disconnected from the sewer and run off away from the home.

Vertical barn style siding was used. This look better matches the expectations of buyers in the demographic I expect will be looking for a home like this.

The fence around the front was removed also. I didn’t see a purpose in that fence, and it was an eyesore.

The backyard shed has been torn down. It blocked out light and had no real use. Unfortunately it’s too cold now in the heart of winter to power wash the paint off the brick, but that will be one of the first things done come Spring.

New gate and retaining wall in the front will have to wait until Spring also, but that’s enough for now.  

If and when I decide to sell this home, I will update this page with a breakdown of the return on investment.  Until then, thanks for reading.  

Compare Listings